Wednesday, November 14, 2018

The New Arrival

What is it about car guys (and gals) that makes us do what we do when it comes to acquiring and restoring a particular vehicle?   Maybe it's because as a kid we saw "the car" and always wanted to have one.  I know when I was looking to buy my first car in high school, I was stuck on Mustangs.  I had found a '66 coupe with a 6 cylinder and 3 speed on the floor.  But my dad wasn't a fan of me getting it because it had a lot of miles on it (95K if memory serves).  The guy selling it was a mechanic at a Standard gas station  (we're talking 1971 now).   So I ended up with a '66 Fairlane, 2 door hardtop, 289 V8 and "3 on the tree".   I always wanted a Mustang, and a fastback, since then.  That may explain the one sitting in my garage.

But there was another car close to my heart.  I was even younger (3rd grade) when my aunt, uncle, and brother started to get into Model A Fords.   At one point in time, the 3 of them owned 6!   My favorite was my aunt's 1929 roadster.  It was professionally restored and a drop-dead gorgeous car.  It won best of class at every show she took it to.  There was something about the shape of the radiator shell... the way the hood and cowl was formed.   The body reveal was wider than the 30-31 years.

Fast forward to my adult life.  A friend of mine had a 41 Chevy truck he chopped the top on and I did the body work on the cab afterwards.  He got me into hot rods.  Then we attended our first street rod nationals and I was hooked.  A few months later, he calls me (knowing I wanted a '29 Model A) and said there was one for sale up where he lived.  It was a Tudor (2 door) sedan which was perfect with my family of 5.   To make a long story shorter, I bought it and trailered it home.  Over the next 3 years, I built my first hot rod.  Even though the interior wasn't finished,  the outside was.  In the summers, we'd all pile in the "A" and head to the Parkette Drive-In in Lexington, Kentucky for malted shakes on Friday evening with all the other hot rodders.   It was a blast while we had it.


But then someone came along and wanted to buy it.  After offering to trade me 2 vehicles... and then 1 vehicle and cash, he finally asked how much I'd take.   I gave him a high-ball number expecting that that would be the end of the conversation.  Five days later, he calls and says, "I have a cashier's check for the car.  When can I come get it?"   Well, if he was willing to pay that price, he could have it.  I got way more than I had into it (not counting my time).  But the cash paid off my van, funded my private pilot licence, and the first year of health insurance when I went to seminary.

I've always missed that car and thought that one day, I could do it all over again.

Well, again happened in September.  I would occasionally do an eBay search for 29 A.  Low and behold, one showed up for what my wife and I though was a pretty cheap starting bid.  I watched it go through 2 auction cycles with no bids.  We didn't know if there was a reserve.  On the 3rd cycle, we decided to place the opening bid.  There was no reserve.  So we were in provided no one else bid on it.   I have put in an auto-bid that would add $100 is someone else bid.   6 days went by with no other bids.  Then someone dropped a bid $50 higher than mine.  The auto bid raised it another $50.  On the last day, I expected that someone would jump in at the last moment and snag it.  We felt, if they did, then that's fine.  If not, that would be fine too.  No one else bid and I won the auction.  Now the issue was getting to northwest Minnesota in the middle of nowhere to get it.  With a U-Haul auto transport in tow, and a friend along, we make a quick up and back trip from Indy to get it. 

I had my '29 Model A again!

Ready to head home with my '29 Model A   That's Steve who sold me the car.
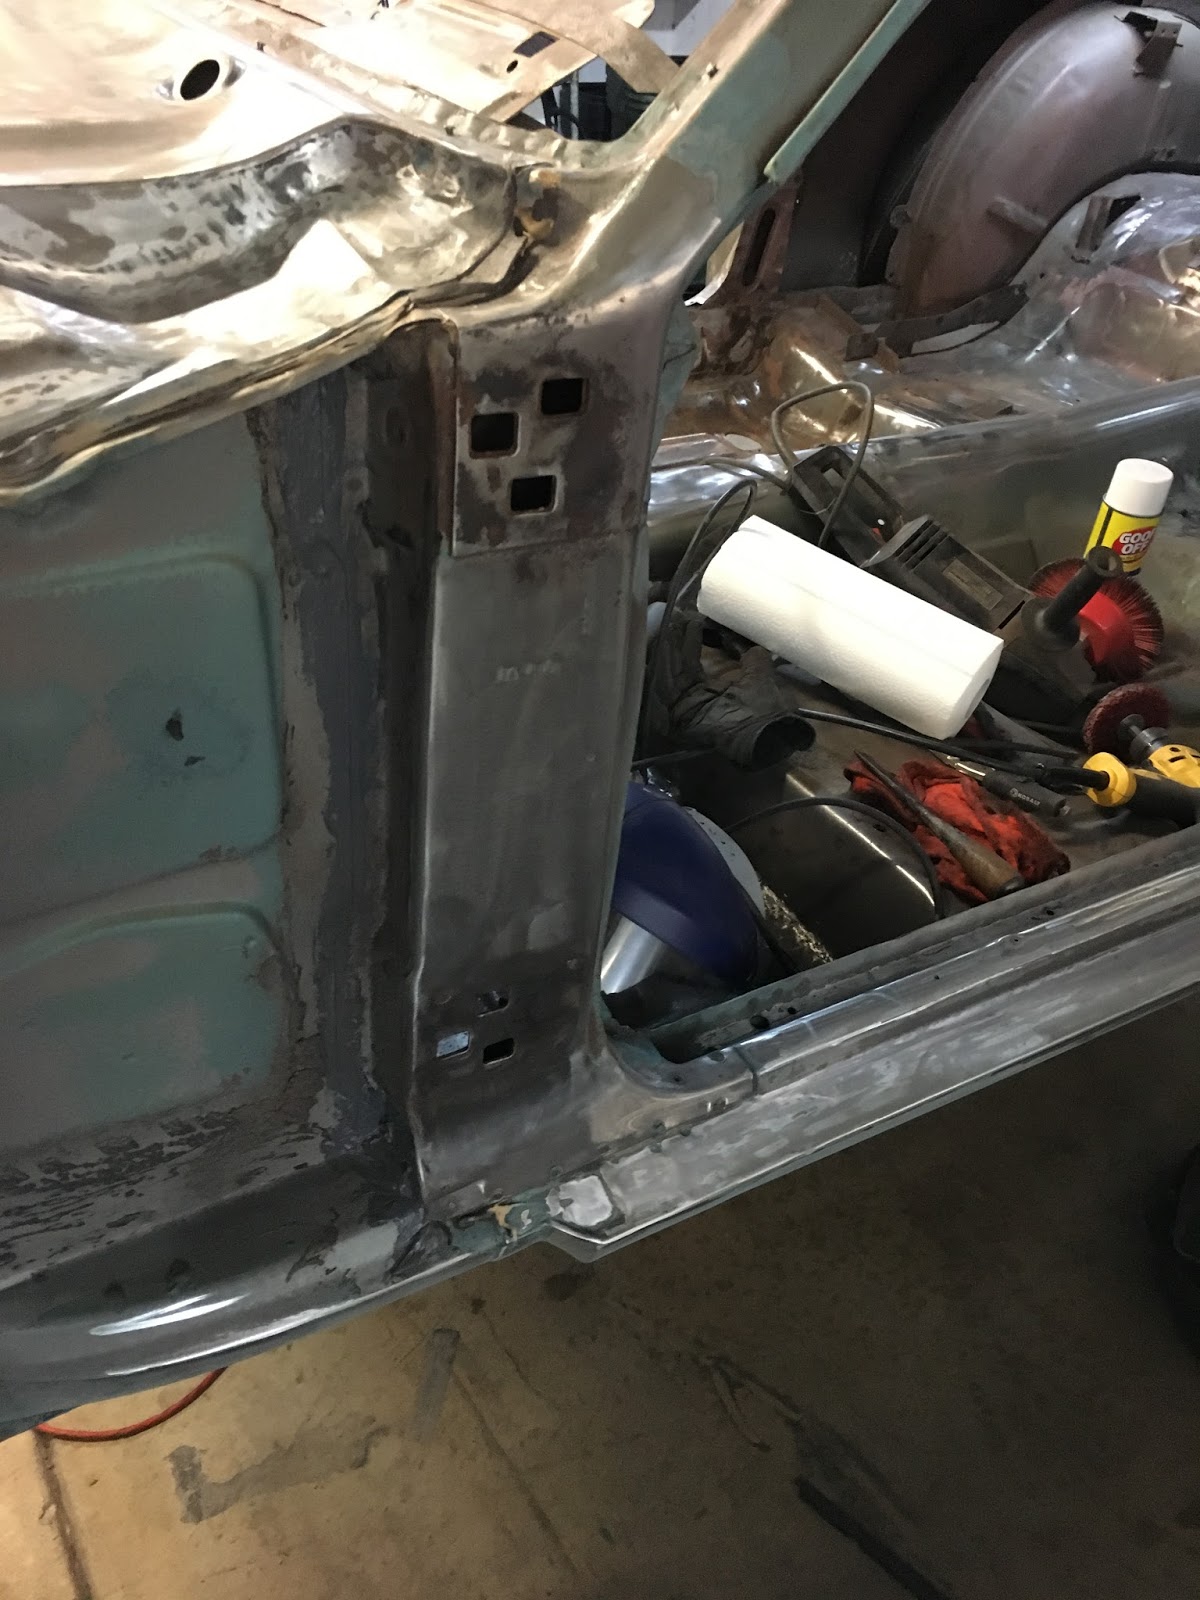
With the large "rat rod" movement, I could probably do very little to it, update the chassis and have it on the road inside of a year.  But the other voice in the household spoke up.  "Finish the Mustang first."   So that's what I'm going to do.  Besides, I didn't have any room in my garage to work on 2 cars at the same time.

Another friend has a large machine shed that I can store it in.  I'm working on getting the Indiana title for it (which is a royal pain in the you-know-where).   Another friend has a trailer.  So hopefully by Thanksgiving, it will be in it's temporary digs. 

The hacksaw will be ready to take a couple of inches out of the top.

A garage full of love!
Progress will then continue on the fastback after that.  Hopefully the next post will have some progress on it.

Until the next time...

Friday, September 28, 2018

Body Work: Bolting the Pieces Together--Part 1

Now that the fastback is finally off the rotisserie and that piece of hardware now out of the garage, it's time to start the tedious work of bolting body panels on, getting the gaps set, and prepping for body filler, primer and blocking.

The first step in this process was to figure out where I had stashed all the parts I needed.  I had ordered a bunch of hardware to put things together from CJ Pony Parts before my return from Canada so they'd be waiting for me when I got home.  Then I had to find the front and rear valances and trunk hinges which I was pretty sure were in my storage unit.  So I headed over there and sifted through all the boxes.  I didn't realize I had so much over there!


After doing an inventory, I got what I needed from the storage unit and headed back to the house.  I'm still looking for some parts, but they are either in the garage attic or in my man-shed out back.

I dug through the box of packaged hardware for CJ's and found the hood and hinge nuts and bolts.  I got the hood hinges mounted and then enlisted the help of a friend to get the hood on and aligned.  It's pretty close, but still needs some work.  Then it was on to the fenders.

I got the fenders mounted but that didn't go exactly as planned.  Finding the  rear lower and upper fender brackets took some digging through boxes.  I'm regretting getting sloppy on not doing a "bag and tag" immediately instead of throwing them loosely in a box.  Oh well....

Then came the issue of getting the captive nuts in the right side rocker panel.  The one on the driver's side was OK.  The passenger side must have gotten ripped out when that side of the car was wrecked.  The only way I could see getting it in was to bend the metal tabs "up" on one side so I could slide it in.  Then I would bend it back which would lock it in the rocker panel.


Wouldn't you know that with my dumb luck, the tab broke off after getting it in the rocker panel.  I had a long bolt run into the nut to aid in the installation.  I just left it there and got out the welder.  I figure a few tacks will do the same thing as the tabs.  So the nut is welded in.  Not the prettiest job, but functional.  I keep telling myself, "No one is going to see it."  True.  But I'll know those ugly welds are there.   Moving on...


With all the brackets and hardware in place, the positioning of the fenders began.  Pull a little here... Push a bunch there...   Tighten the bolts and away you go.   Sort of.  Trial and error and more hood adjustment got things fairly close and consistent.  Then it was on to the trunk lid.

That wonderful trunk lid...

If you remember the gyrations I went through to get a new trunk lid for the Mustang, it was quite an ordeal finding one that fit.  If you don't remember, take a look HERE and check out that post.  The deck lid I got was better than the Dynacorn one, and it looked pretty close to the original one, but it was still off some, especially getting the body lines to be spot on and having the gaps be consistent.  It involved not only the position of the lid on the hinges, but where the striker on the rear panel lined up as well.  After I got it where the lid didn't shift left or right when closed and locked, I had to grind off  3/64 of the edge about 3" long on the right rear side and corner to get that gap better and to keep the lid from hitting the rear fender extension.  I'm going to have to tweak something there to get a better fit.  Pity I didn't take pictures of the gaps before I blew this apart.  Another "Oh well" moment.  But I don't have any of the rubber stops in that would keep the lid from closing to low.  I'll make some shims and Gorilla Tape them in place.  I'll need it stabilized anyway during sanding and blocking.

So after all that, I realized I need to take the front fenders off.  I need to put the front fender extensions on and put the door hinges on which is near impossible with the fenders on... at least to do any kind of adjustment to get the doors close to where they should be.  But that's OK.  I'm getting good at taking the fenders on and off.  Plus I have an extra set of fender bolts I can use that are still "virgin" to do the final assembly after paint.

Photos of the gaps follow...

Upper passenger side of the trunk lid.

Right rear corner after grinding the edge down 3/54"

Lower driver's side and rear quarter gap.

All assembled (minus doors and valances)

Driver's side hood and fender gap

Passenger side hood and fender gap
An actual functioning hood on the car for the first time!


Old stock repro trunk lid closed
Trunk lid back on the body again (No rust in this one though)


And there you have it.

Until the next time...

Wednesday, June 20, 2018

For Sale - 1 Mustang Rotisserie

I wonder how many people will see the title and think, "He's selling his Mustang?"  No.  Just the rotisserie.

Yes, after 6 years and 4 months to the day, the fastback is finally off the rotisserie.  This is a major milestone as now I can start attaching the body panels to the shell and begin the bodywork.  Unfortunately, that will have to wait until I return from Canada in late August.

This isn't a long post, but it's sort of like the old Chinese proverb: one picture is worth a thousand words.  Or in this case, one video and a couple of pictures.

I made the body cart out of wood.  I used T nuts to hold the bolts with fender washers and rubber washers for the factory mounting points to sit upon.  This isn't rocket science but a little bit of mechanics was involved.  A plum line came in handy to lay out the dimensions of the cart.  I used 4" swivel casters (2 of them locking) for movement.  Other than that, it's a WYSIWYG... what you see is what you get.


Below is the video of the actual removal from the rotisserie.  Sorry, it's a little long, but it was a little more complicated than just picking up the body and plugging the rotisserie ends onto the body.  If you don't want to watch the whole thing, just go to about 4:15 into the video to watch the main event.


This is the crew who helped with the lifting and removing the rotisserie.


The body fit on the cart perfectly.  Now it's just waiting for assembly and bodyworking the panels.


So if you need or know of someone who needs a rotisserie for a 65-70 Mustang, let me know, but I won't be able to do anything with it until the end of August.  You can see what it looked like and the the video of the fastback going onto it here.  The price?  $300 ought to do it.

Until the next time...


Wednesday, May 9, 2018

Interior Body Sealer and Primer

This process of restoring the inside of the body shell to some semblance of originality, or maybe a little better, has been a long, tedious, dirty, tiring, frustrating, and painful (both figuratively and literally) step in this restoration.  But there is a little light at the end of the tunnel on this part of the resurrection of my fastback.

Thanks to the factory welding and sealant manual, not to mention a recent article in Mustang Monthly here, I was able to determine not just where the sealer goes, but what materials to use.  I mentioned those products in my previous post.  What I've posted here was over the course of a few days.  I'll let the pictures tell the story...

Seat riser spray sealer applied

Floor to firewall  and kick panel spray sealer applied.
Rear seat and rear wheel tub spray sealer applied.


Trunk floor and wheel tub spray sealer applied

Sound deadener applied (same 3M product as sealer)

Rear valance to trunk floor spray sealer applied.

High build gap filling sealer (3M "fast n' firm) applied

More gap sealer applied.

Gap sealer at firewall to torque box applied.

Gap Sealer applied under spray sealer

Sealing complete in front of passenger compartment.  Dash sprayed with rust converter for now.

Sealing complete in rear of passenger compartment

So after painstakingly stripping, scuffing, and wiping down the surfaces inside the body, I masked off the areas I didn't want the overspray of Zero Rust to go.  That included the dash which I sprayed with Eastwood rust converter, which turns black on clean metal and will preserve it.  I'll detail the dash later.  I decided after masking the trunk area that I will wait to primer it later as that will need to be prepped more carefully since it will be exposed and sprayed with body color.


I approached this project as I would the room of a house.  I "cut in" all the seams and hard to reach places, like the cowl vents, by using a brush to guarantee coverage that spraying might miss.

Cowl vent and pinch seam areas brush painted with Zero-Rust.  

Body on its side.  Painting the hidden areas around the perimeter of the roof

More roof painting with a brush
After all the brush work was done, I set up my primer HVLP gun.  I reduced the Zero-Rust 20% to get a good flow.  I was using a 1.8mm tip in my gun.  That gave a fairly nice pattern and coverage.  The rotisserie came in handy especially for getting behind the dash and doing the inside of the roof.

The finished produce...


There are a couple of areas, particularly under the dash that are a little light on coverage, but at this point, I'm not worrying about it.  Sort of "out of sight, out of mind".  It's not going to be exposed after everything gets installed in the dash and interior and it's certainly not going to rust anymore.

With just 11 days before I head north for a couple of weeks, this major hurdle in the restoration process is now behind me!  It almost seems surreal.  Now I can focus on the actual bodywork.  The big question is do I leave it on the rotisserie, or take it off.  I'm leaning toward the latter for a couple of reasons.   The 1st reason is in spite of the versatility of rotating the body on the rotisserie, it's still fairly high off the floor.  The 2nd reason is  I can't put the front or rear valances on the body with it on the rotisserie.   So if I build my body cart, I can take it off the rotisserie, gain some garage space, and hang all the body panels on the car.  Then I can sell the rotisserie and get that out of my garage where I'm already pinched for space.  (If you know someone interested in the rotisserie, let me know.)

I would say I ate a few more bites of this elephant.  And it's tasting pretty good!  But there is a lot more to eat.  Hopefully I won't get sick of it by the time the elephant is fully digested.

Until the next time....

Thursday, March 15, 2018

More, More of the Same

What a tedious, dirty, and somewhat hazardous job this has turned out to be.  I never would have thought cleaning out the factory sealer and surface rust would end up with hours of work and dollars of consumables.  But it is what it is.

This post represents a number of nights and a long Saturday of work.  And I'm still not done yet.  But let's not dwell on that.  First order of business is safety first.  I use ear plugs instead of the muffs which are bulky in tight places.   Don't I look dashing?!?!

Decked out in all my safety gear.
I found that the best and quickest way to remove the factory seam sealer is Goof Off.  It's easy to apply and works well.  It will take three coats.  The first will get the majority of the larger pieces of seam sealer loose.  I used a wood chisel to scrape the first layer away.  The second coat will get most of the sealer off with the chisel and coarse steel wool.  The third coat I used red ScotchBrite pads to get the last of the sealer off.  Then I wiped down the area with mineral spirits on a cloth.  Finally, I used paper towels to dry off the mineral spirits.

This does a good job cutting through the factory seam sealer
The seam sealer is all gone and cleaned up


That process of removing the sealer worked the best.  The next step was to use the combination of 4-1/2" and 2" surface conditioning disc.  I did buy a lot of 25 Sharp brand 3" Rolok surface disc.  They seem to hold up a little better than the 3M disc. So work began on the door jamb area.

cleaning up the rocker panel and door jamb


The left rear quarter panel had never been completely stripped of paint entirely and there was some primer left from previous metal work.  So I got this all done.


I then started on the interior driver's side and got most of that cleaned up from the rear diff tunnel to the foot well area.


Then it was on to the part I was dreading...the upper firewall and cowl behind the dash.


The advantage to the rotisserie is easier access to areas like this.  It's not easy.  Just easier.  I can't imagine laying on my back or in a contorted position to do this work.  Because of the confines, I used the 90 degree die grinder with the 2" and 3" conditioning discs.

This is the view through the dash on the driver's side of the firewall
 On the larger flatter surfaces, I used the 4-1/2" angle grinder, especially on the toe board, side apron and flat areas of the bottom of the cowl.  I made good time but found that caution must be exhibited in the process.
Yes Virginia, the body is upside down! (not the picture)
My 29 year old Craftsman angle grinder has served me well over the years, especially on my 1929 Ford hotrod and this one.  However, I failed to notice a bracket that was spot welded on the bottom of the cowl.  The conditioning pad caught it, twisted the grinder out of my right hand where it then proceeded to dance across the back of my left hand, out the door and onto the floor while still turning!  Needless to say, there was some collateral damage to me, the grinder, and the hook and loop backing pad.
My ouchie looks better in the picture than in real life.
I used this moment to take a break, clean myself up so that a CSI team won't find anymore blood on the garage floor than is already there.  The grinder case was now loose at a parting joint.  I could probably just use some Gorilla tape to fix it, but decided it was time to replace it.  I ended up spending more than planned, but got a DeWalt angle grinder with more amps AND a paddle switch which is much safer than the toggle on the old Craftsman.  Besides, almost 30 years of service is enough.  I'm also going to make sure I'm wearing my mechanic's gloves when I'm using the grinder.

I had created quite a mess in my "Dexter" kill room, but that plastic cocoon I made has kept the garage messes at bay.  I pushed the fastback outside since it was a clear sunny day and blew the crud and dust out of all the nooks and crannies.  Again, the rotisserie really helps facilitate this process.


After the cleanup of the body and garage, I tucked her back in the garage.  The next step was working on the inside of the roof.  I was down to my last 4-1/2" conditioning disc.  So I placed another order for a box of 10.  The cost of consumables was on a steady climb at this point.


With the body hanging upside down, it made easy work of the roof.  My helper Joey came over for a couple of hours one evening and helped with the task.  I put him on the new DeWalt grinder and I used my 9" grinder with the big bristle brush that worked OK.  I spent a little more time doing some detail cleaning under the dash with my 2" discs.

My helper Joey getting after the roof
 The roof is about 2/3 done at this point.  Joey had school and I was getting tired, especially my hand that was somewhat sore after the fight with the grinder.


I'm probably 75% to 80% done on cleaning up the inside before it's ready for degreasing, resealing, and primer.  I did, however, order some of the sealer materials.  The October 2017 issue of Mustang Monthly had an article that was quite timely.  You can see the article here.   I ordered the "Fast N Firm", the spray rubberized undercoating, and the grey seam sealer that came in a sausage looking tube.  So I had to order the special caulking gun to use with that.  I was a little shocked at the cost.

More money for pricy product
What you see in the picture above represents almost $150 in supplies.  And I know I'll need more, especially at sausage seam sealer which is $40+ for that 10 ounce tube.  Yikes.  And people wonder why restorations can cost so much.  I haven't even gotten to the paint yet.  But if you're going to do a restoration to this level, it has to be done correctly.  So it's part of the price of admission.

I've got work and family obligations this weekend, and I'm waiting for my box of conditioning discs to arrive.  It will also give my hand time to heal up some more.  Hopefully, I'll be back on this beast in the next week or so.  Then I'll get the rest of the inside roof done, a little still left on the underside of the dash on the passenger side, and cleaning up the back of the truck area.  It will be time for some degreasing, Pickle-X 20, seam sealing, and finally primer.  Then the inside of the body will be finished...finally.

Until the next time.