Friday, August 14, 2020

Engine - Out of the machine shop

This past Monday, the engine for the fastback came out of the machine shop and is now at Legacy Motorsports in Plainfield, Indiana.  The machine shop bill was higher than expected, but it definitely provided more than expected.

The original one-year only 4V heads were resurfaced just enough to clean them up without raising the compression, which is already 10.5:1 due to the small 53cc chambers.  They have all new valve guides and valves.  


The springs and seals came from the cam kit I ordered.  It will be assembled with the roller rockers and new pushrods.  So everything will be new.


The block was bored .030" over and didn't even need to be align bored.  The machine shop said it was in really good condition.  ARP rod bolts were installed and will be used in the main caps as well.


The crank was turned .010" undersized and also was in good condition.


I was expecting a standard cast aluminum piston.  Instead, I ended up with Speed Pro forged pistons with the 4 valve relief, again, to keep the compression around the factory 10.5:1.

So....it should be assembled and ready for pick up a week from today, barring any unforeseen circumstances.  Then I'll put it on the engine stand, add the valve covers, water pump, and get it all painted Ford corporate blue for 1968.  The flywheel arrived this week, but I'll wait to install that when the engine and transmission are ready to be installed.

Another post will follow this one soon updating the body work that's begun.

Until the next time...

Monday, August 3, 2020

Body Work: Putting the pieces together--Part 4.5

Just when I thought things were settling down in my life, another project rears its ugly head.  One of our flying club members was out getting his currency back in our Cessna 172RG.  On a "touch and go", he inadvertently raised the landing gear instead of the flaps.  He realized his error almost as soon as he moved the landing gear handle, but it was too late.  The nose gear hydraulic valve opened and it retracted.   Ouch!  (an expensive ouch!)  Being the maintenance officer for the club, this now falls in my basket to take care of.


The FAA called it an "incident" and not an "accident".   After the FAA showed up at the airport and did its investigation, the plane was moved to its hangar.  Because it was an obvious prop strike, the engine requires a mandatory tear-down.  The prop will have to be replaced along with the nose gear doors.


So...when it's all said and done, the insurance will pay us $44K for the repairs.  The club decided that with almost 2000 hours on the engine, we will add funds from our engine reserve account and have a new engine built.  I'm still waiting on the new prop to arrive.  The engine that we will do an exchange on is underway.  The gear doors are on order.  Hopefully, there will be no hidden damage, but the claim will be open until the work is signed off.

Beside this, I was also responsible for a major avionics upgrade on our Cirrus.  We installed a glass panel to replace two key instruments.  That required a ton of rewiring to upgrade.  


After 2 weeks of wiring and installation, the new Aspen ProMax PFD (Primary Flight Display) was done.  Well, sort of.


We had several post-installation bugs to get worked out.  There is still one major change left that will be done next week.  Then I can hopefully put this project behind me.

On to the Mustang.

I was getting quite frustrated trying to get the hood aligned.  I enlisted a friend of mine (He's building a '55 Bel Air).  One struggle was trying to adjust the hood against the hinges with the spring tension.  I have a subscription with the Classic Car Club and saw a video on rebuilding hood hinges.  The video showed using a coat hanger to pull the spring off the hinges.  It worked really well.  

A coat hanger worked well to remove and install the hinge spring

This made it much easier to move the hood around.  After 20 minutes of trial and error, the hood alignment was spot on.  All the gaps were just right, at least for the level of restoration I was looking for.

This is the driver's side cowl/hood/fender gaps

Driver's side hood and fender gap

Passenger side cowl/hood/fender gaps

Passenger hood and fender gap

Now that the hood is in it's proper place, I will be drilling 1/8" holes through the hinges into the hood under the upper mounting bolt shoulders to hide them.  That way, it will be much easier to put it back in place after blowing it apart for paint.  Whew! 

The front valance is one of two I got when I bought the hood hinges and front fenders off a "Flintstone" '68 Mustang convertible.  As rust-free as it is, there are still some dents and dings to remove.   


While removing the paint, I discovered a few places where there was a layer of body filler.  Ok.  So now there are more dents and dings to remove.  After some contemplation, I decided that I would try and massage this valance instead of buying a repro unit that may not fit as well.  


So that's as far as I've been able to get on the fastback for the time being.  I hope to get back on it soon after I get caught up on a couple of more house and airplane projects.   At least it's going in the right direction.

Until the next time...

Tuesday, June 16, 2020

Body Work: Putting the pieces together Part 4

After taking a diversion to get the engine apart and evaluated, I'm back at body work again.  So, I'm picking up where I left off at part 1.5. 

The door and fender gaps and alignment on the driver's side weren't where I wanted them to line up.  So I began that process of taking things apart and putting them back together properly.  But in the process, I noticed the hood was off-center about 1/8" toward the driver's side.  Readjusting the hood from left-to-right did little to help.


Then I noticed that when the hood was up, it was in alignment with the cowl.  But as I lowered it, it shifted to the left.  I noticed that the hood hinges, which are from a '68 convertible, weren't straight when looking at them front to back. That needed to be fixed and might be part of the hood shifting problem.  I pulled the hood, with the help of my friend Eric (who is an ex-Marine) and took the hinges off.
                   

There was some play in the factory rivets and press fitted joints.  I used my bench vice and a ball peen hammer to attempt to tighten them up.  I also used a pry bar to straighten out the alignment of the hinge brackets so they were parallel to each other.
                   

After installing the hinges and the hood again, I ended up with the same result but it was only 1/16".  I'll have to mess with it some more.  I really don't cherish the thought of buying aftermarket hinges as most of the parts require some sort of rework.  I'd rather deal with the originals and take my chances.

We moved on to the door gaps and got them adjusted easily.  The front fender needs some tweaking, but considering these are all original factory 1968 panels, it's only going to be so good.  But I can live with that.  This isn't going to be an uber pro-touring car but a very nice factory restoration.  No Concours either as I plan on driving it...hopefully a lot!

Door and rocker panel gaps are now consistent.

Fender to door gap is a little wide but will be adjusted at final assembly.

The body highlights and reveals line up nicely.
After the hood, door, and fender work, we moved on to attach the new rear valance with the appropriate body screw/bolt kit.  Of course, it needed a little "adjusting" with the help of a 2" x 4" and a mallet.

Rear valance installed and appropriately adjusted for fit.
The rear valance will require almost no bodywork.
The front valance was next.  This is one of two that I got with the fenders.  It's in better condition but has a few kinks that need to be worked out.  I'm still weighing whether to try and bodywork it on the car or take it off and bench work it.  I'll strip it first and make a decision then.


Then my friend and I "divided and conquered" on bodywork.  I put him to work with the DA sander and a red Scotch brite pad to clean the quarter panels and give them a slightly rough surface for the body filler to bond better.   As soon as Eric finished the driver's side rear quarter panel, I started the application of Everlast Rage body filler.  It's a high grade filler that really performs well.  I've already metal worked the quarter panel so that there will be no more than 1/16" of filler at the most.

This is the panel after the first application of filler.
My friend Eric working his way around the rear to the right side.


Here is the left rear after two applications of filler.  You can barely make out where the two layers overlap.


The trunk lid is one that I got as an older replacement part.  I went through getting this one on this post.  There was a little "garage rash" in the form of a small ding that happened while moving it around the garage and storage unit.  Fortunately, it was in an area I could get to from behind.  A few taps with my large head body hammer and flat dolly and it was good to go.  A small skim coat of filler completed the repair.


The trunk lid is ready for high build primer.  Eric worked around the right rear quarter panel and then worked on the passenger side door.  All-in-all, most of the body is ready for filler work.

The e-coating on the trunk lid is prepped for primer.
 One dent in the body that has been vexing me is this one in the top center of the rear window sill.  Something managed to hit it on the edge and pushed it up and forward.  How in the world this happened and not break the back glass or damage the trim is beyond me.  This dent was also not easily accessible from inside the car.  I tried the stud welding gun but was not able to really get to the area I needed, though it did help some.


I resorted to a 2" wide by 1/4" thick steel strip I had that was 2 feet long.  I bent it in a contour to match the roof.  Then I slid it between the roof skin and the roof support structure.  With the 10 pound hammer, I was able to hit the metal strip without adding a dent to the roof.  It did push out the "pucker" that was there.  As this point, it's about as good as it's going to get.  I'll put a coat of Metal-to-Metal on it followed by the Rage filler.


We had put in a fairly full day and accomplished quite a bit.  I'm hoping to set up another day for Eric to come over.  If I can teach him to apply filler and sand it out properly, it would really help move the bodywork closer to spraying the high-build primer.  Then the fun work of sanding and sanding and sanding begins.

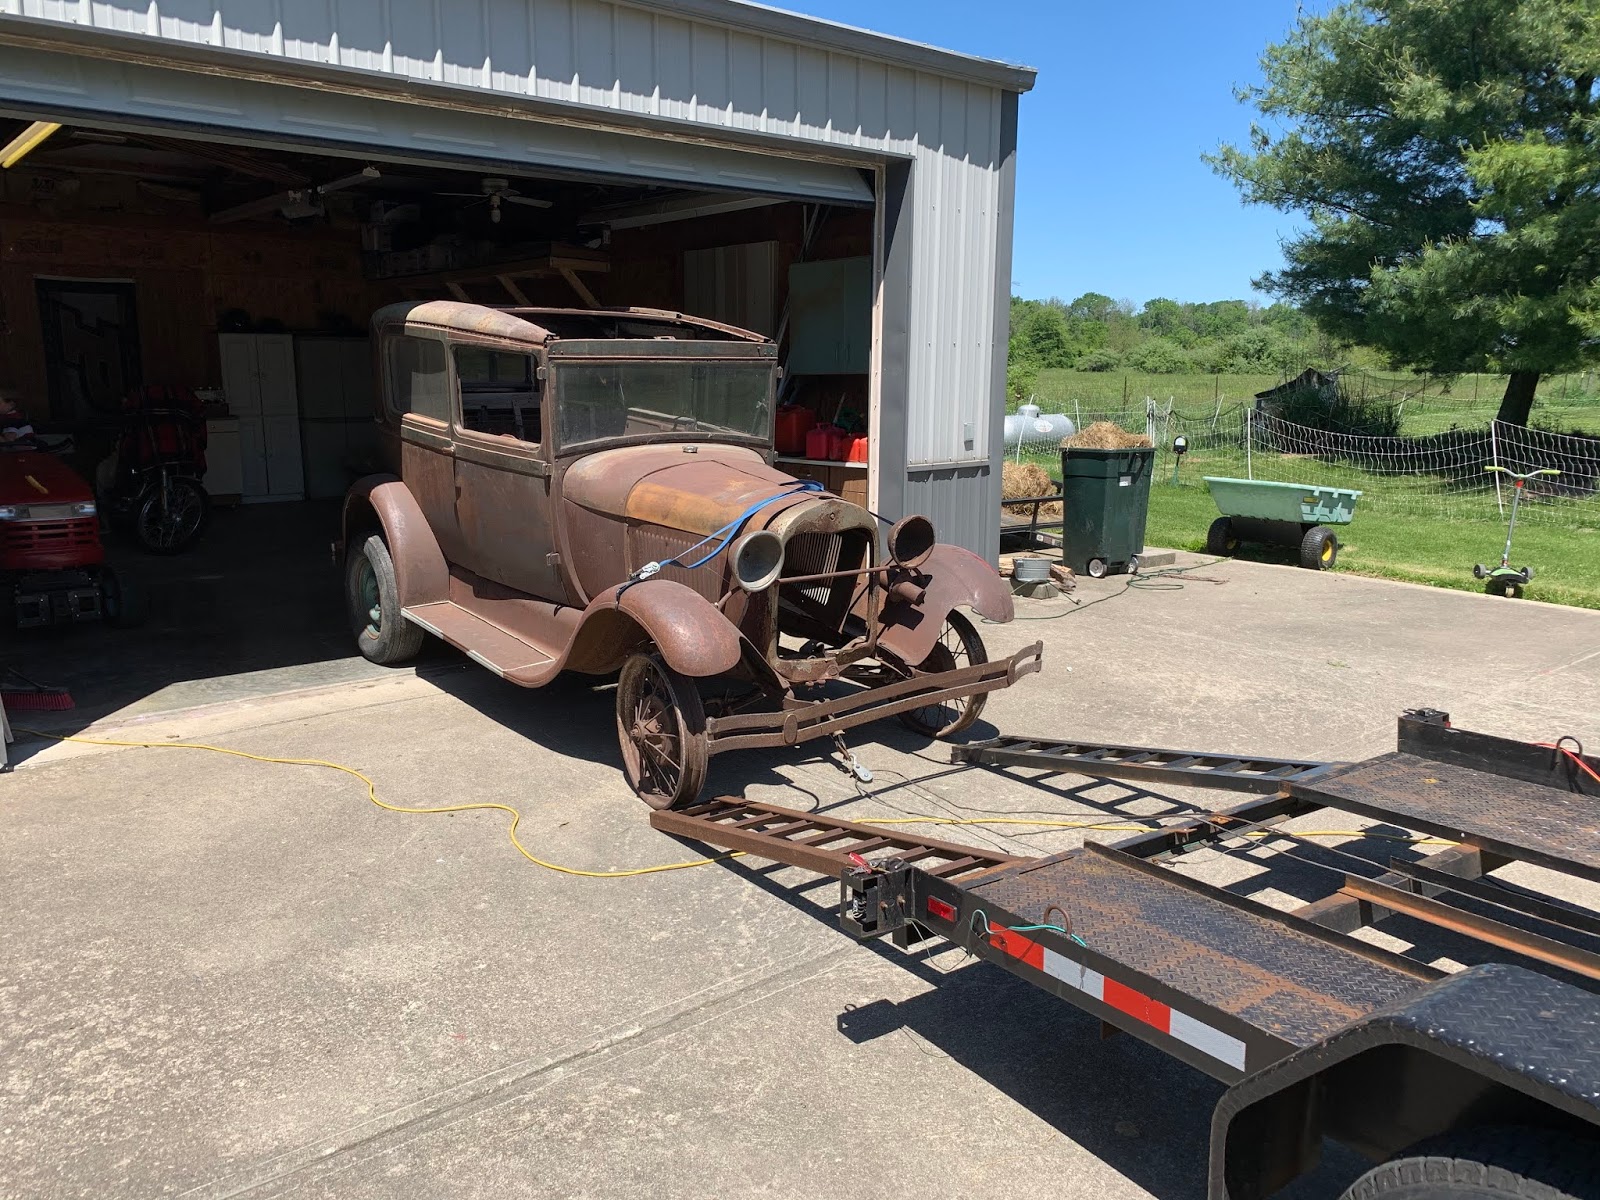
Oh... One more thing:  I sold my 1929 Ford Model A.  It was a bittersweet moment, but it will provide a nice cash infusion for the Mustang's engine, transmission, and rear end restoration. 


By the time you read this, it should be at it's new home in Florida.  That Model A has almost traversed the entire north-to-south distance of the US, starting in northwest Minnesota and ending up in south Florida.  Oh well... maybe another time.

Until the next time...

Tuesday, May 5, 2020

Engine-Part 4: Off to the shop

This is a quick post with not a lot to say except the engine is on its way to Legacy Motorsports for machine work and long block assembly.


I decided to go ahead and let them do the block and head assembly as they are very familiar with Ford small blocks and that's one less box I'll have to check....except maybe the check I'll have to write to cover the costs. 

Sometime it's better to leave certain things to the professionals.

Until the next time.

Saturday, April 4, 2020

Back at it: Engine-Part 3

On my previous engine--part 1 post, I stated my concerns over a siezed up engine and whether it would be salvageable, especially since it is numbers matching.  The top end tear down was encouraging as the lifters were not sized in the bores and were actually in pretty good condition.  Likewise on the initial look inside the bottom end after removing the oil pan.

Now it was on to the next step: dismantling the bottom end.  The first thing was to pull the front cover, cam chain and sprocket, and associated parts.  The cam was reluctant to slide out.  So I made a tool that attached to my slide hammer to give it some "encouragement".   Once the front cam bearing cleared the block, the rest came out with no issues.  For 89K miles, it didn't look too bad.  None of the lobes had uneven wear. 


Next, it was flip the block over on the engine stand and remove the main crank journal bearing caps.  However, before I removed any of the caps, I took my punch set and stamped them according to their journal and cylinder number.  You never know if things can get mixed up, especially at the machine shop.

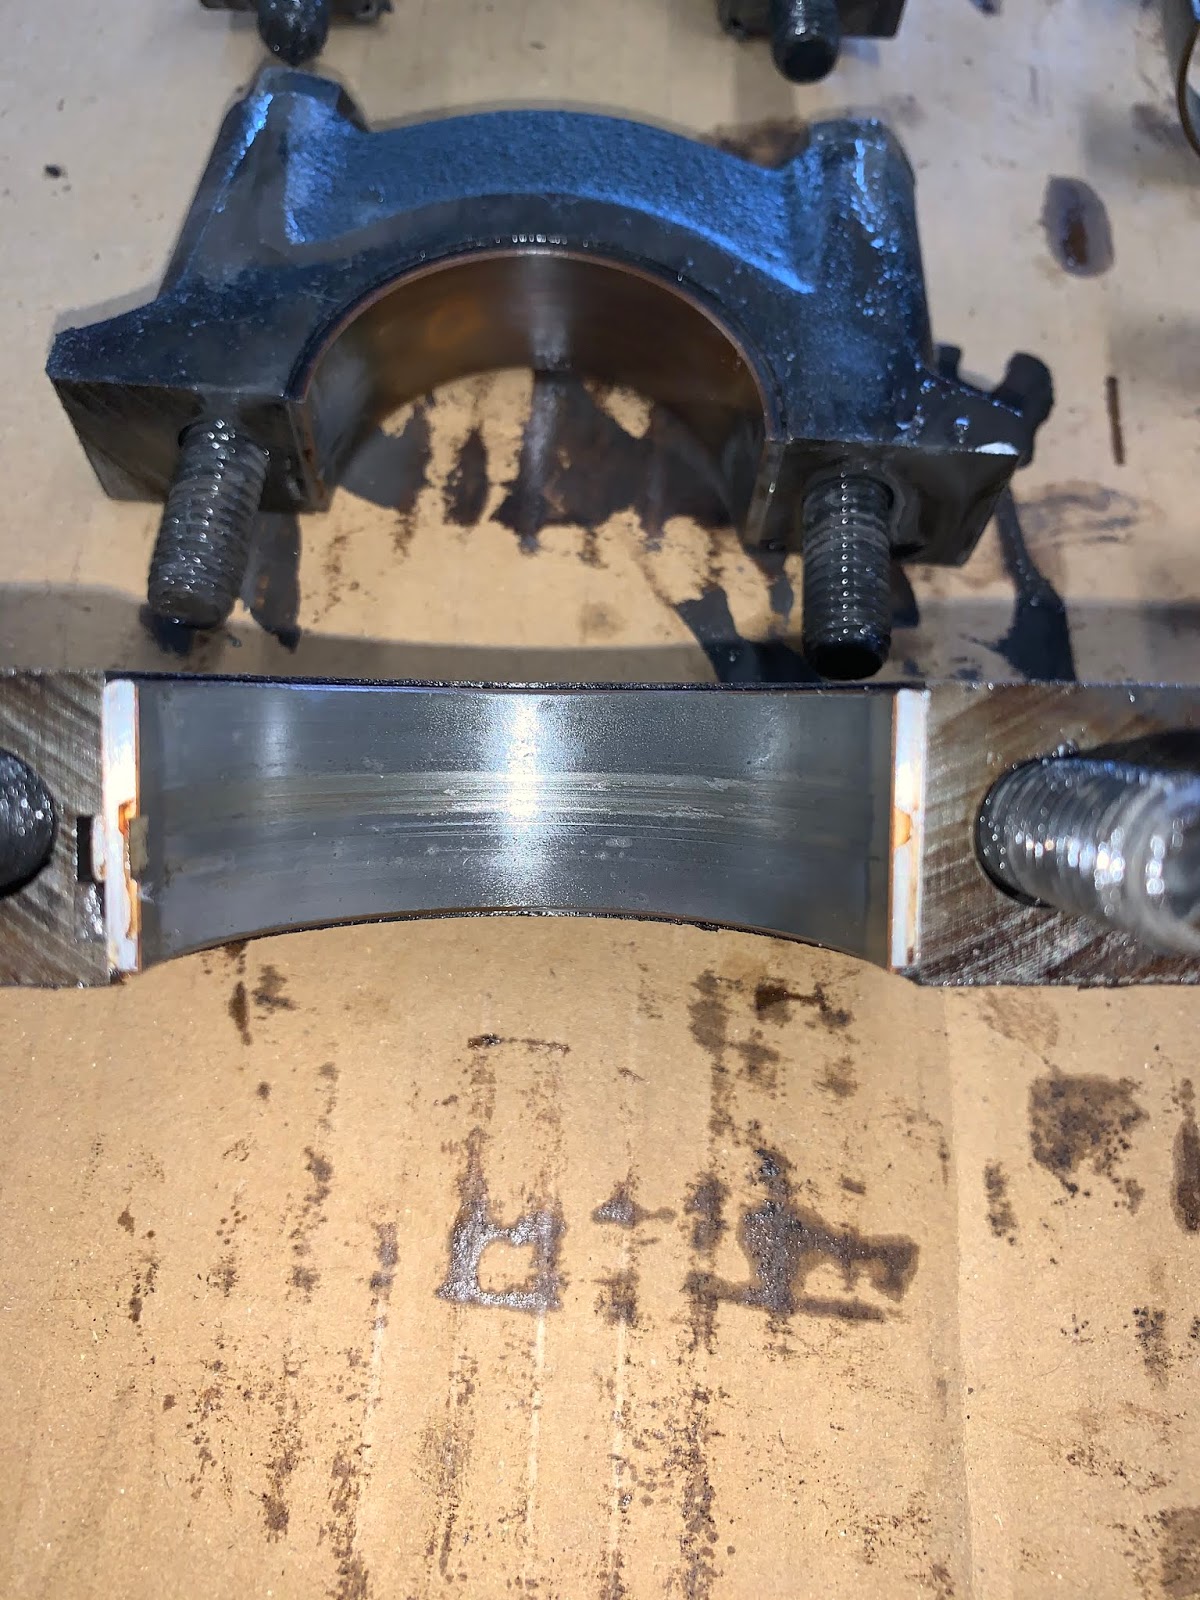
After removing the main capes, I was fairly please with the condition for the miles and considering the type of oil that was available.  There was normal wear and the main journals looks great.  No grooves or scratches.

The main crank journal caps from front to back.
This was the front main journal bearing and showed the most grooving.


This is the center main journal cap with the thrust bearing surface. 
I proceeded to remove the rod journal caps.  With the pistons seized in the cylinders, I was hoping I could get all of the rod cap nuts loosened.  Unfortunately rod cap #6 had a nut that was unreachable with a socket, boxed, or open end wrench.   What to do?  I decided to try and lift the crank out to see what happened.  Low and behold, the rod rotated around so I could get to it.   Yay!  The crank was out!


The crankshaft looks good with no scoring or scratches.
I replaced the rod caps on their respective cylinder to keep everything together Now it was on to the part I was dreading: removing the pistons.  I wiped out the crud from the cylinders.   The one thing I did discover after removing the crankshaft is that 6 of the 8 rod and piston assemblies could be rotated in the cylinder!  That meant the rings were the only thing that were seized.  I had been spraying PB Blaster into the cylinders after removing the heads.  Hopefully that would help in the process.  I thought I had nothing to lose by trying to break the pistons free.  With a short length of 2"X 4" and my dead blow hammer, I started on #1 cylinder.  The piston broke loose on the 3rd blow.  I drove it down into  the cylinder far enough so I could get my ridge reamer in the cylinder.  I did that with all the pistons.  However, #6 was not going to cooperate.  That one I'll deal with later. 

There was a carbon ring built up on the top of all the cylinders but no metal lip.  That's good.

The cylinders before cleaning the crud out of them.
I ran the ridge reamer around all the cylinders to get rid of the carbon ring.

#1 cylinder after removing the carbon ring

With the pistons broken loose, I sprayed a coat of PB Blaster on the cylinders and used my dead blow hammer on the rod caps to drive the pistons out the top of the cylinders.  Overall, the cylinders were in good condition with no scratches or galling along the bores.


With the exception of cylinder #6, the engine was now torn down and ready for the machine shop.

Pistons and camshaft laid out in their respective order.
Now I need to bag, tag, and box up the front cover and associated parts along with the oil pump.  Even though the fuel pump, oil pump, and cam chain and sprocket will all be replaces, it's good to have everything organized to help with reassembly when the time comes.

The engine all laid out ready for tagging.
With the "stay at home" order here in Indiana through the end of April, I'm not sure the machine shops will be open.  I'll make the call next week to find out.  After all, they could be on the list of "essential businesses".  Not only that, they could probably use the business.

After I finished up with the engine teardown, I had to get some home chores done like cutting the grass before the rain moves in this weekend.  When I was done, I discovered that UPS left a gift for me on my front steps.  Yes!  The cam kit arrived from Jegs.  This is a complete kit with cam, valve springs, seals, keepers, timing chain, and timing gear.  (The rocker kit, with roller tip rockers, pivots, and pushrods is coming next week,).  So the entire top end of the engine will be brand new as it should be.


I went with a flat tappet cam for various reasons.  The big one was concern over the lifter bore wear that I was reading about on blogs.  The bores in my '68 block aren't as long as the '85 and up roller 5.0 engines.  Running a small base circle roller camshaft (I know I'm getting technical here) puts an excessive side load on the lifter bore and can prematurely wear out the bore, destroy the lifter, and hence, do some serious engine damage.  Not only that, this kit was on sale for 20% off and costs $380.  A small base circle camshaft would be $349 AND the lifters would be another $400.  That didn't include all the other goodies.  So funds did have some bearing on the decision.  Yes, I'll have to put a zinc additive in the oil, but I figured this type of cam worked in the engine before.  So don't mess with success.

I've got a pretty good mess now in the garage I need to clean up.  After that, it's back on to the bodywork.  I still need to align the driver's side door and fender to get the gaps and body lines correct.  Then it's on to the filler and fixing any dents that appear.  Progress... slow... but still progress.
Until the next time...