One of the items I neglected to include in my last post was a rather special drive I made while in Cincinnati for my cousin's Jeff' daughter's wedding.
Jeff and I are like brothers and have shared life experiences that are both good and bad. That's what keeps us close. Jeff also started and is president of a rather successful seasoning and flavoring company. So he's a busy guy with not a lot of spare time on his hands.
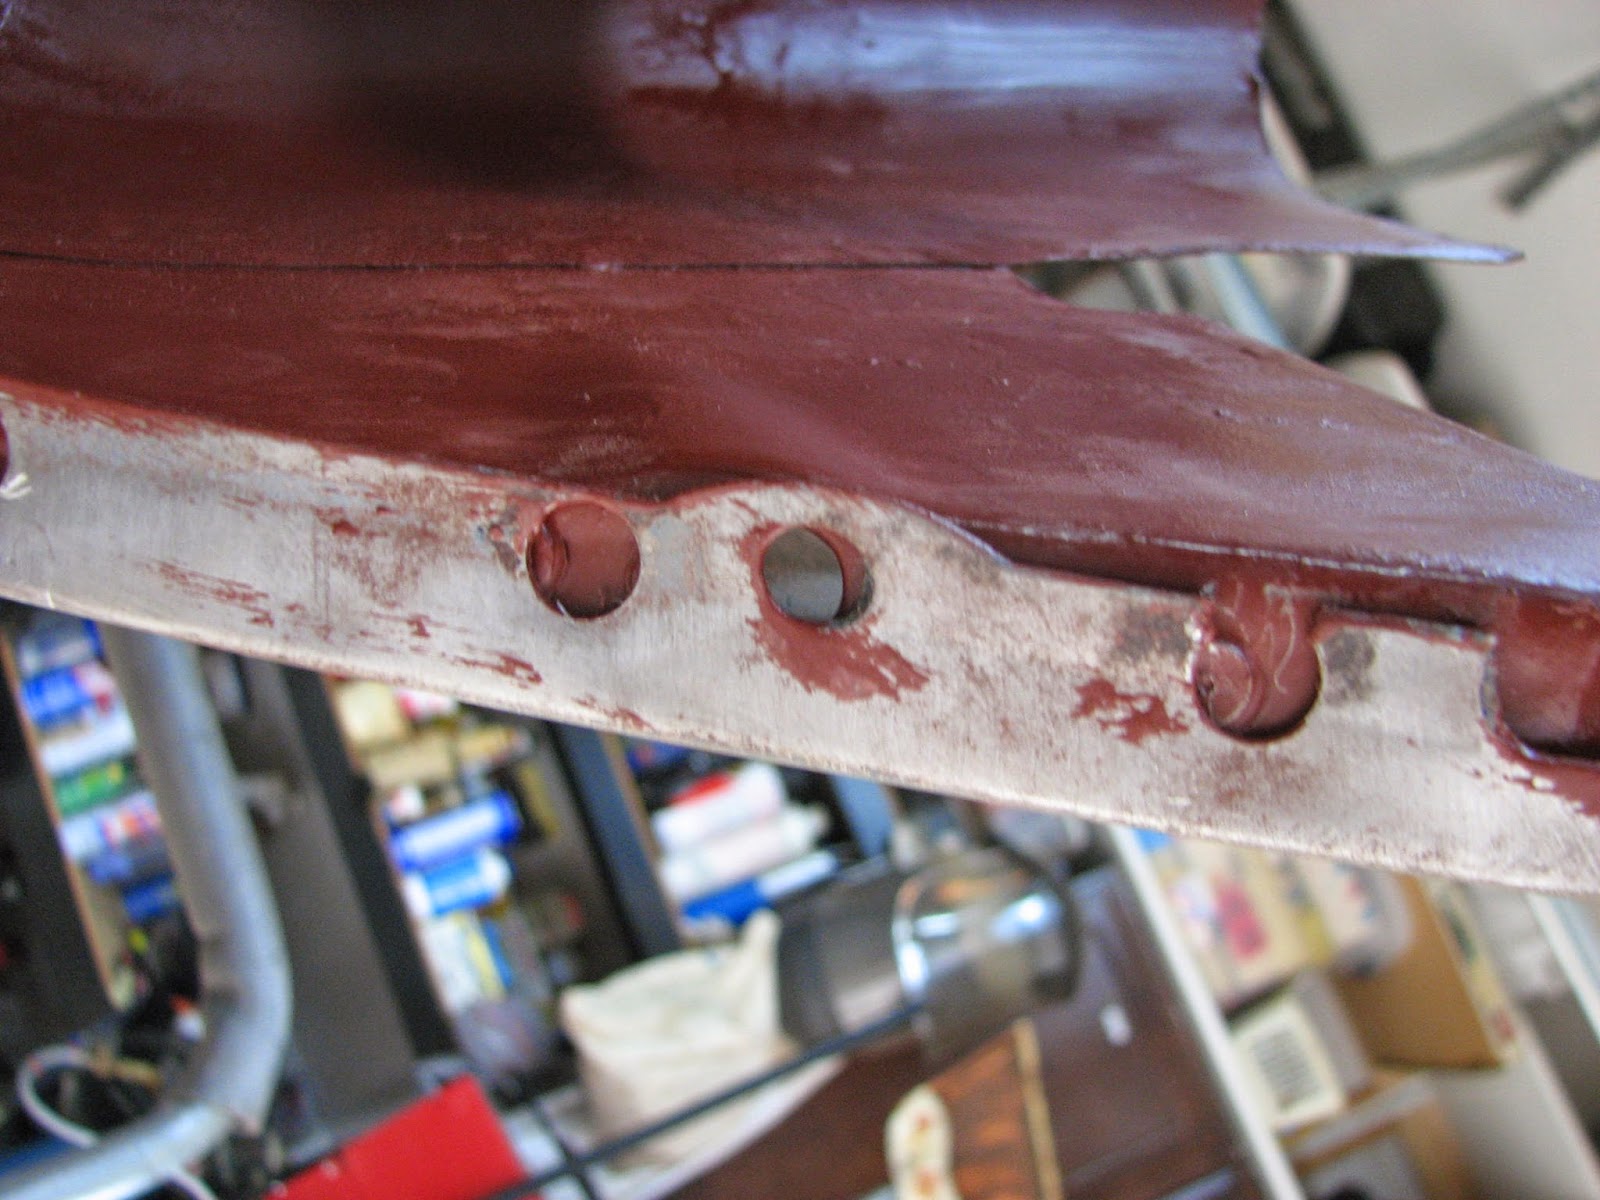
He's been a huge supporter of my fastback project and needles me about when I'm gonna get it done every chance he gets. So while I was in Cincy for the wedding, he gave me a huge incentive to get my restoration consistently on-track.
Enter Mr. Spicy.
A year ago, Jeff started talking about getting a "midlife crisis" toy. The car that floated to the top of his list after several discussions with me was a Shelby GT 500. And a convertible to boot. The 2013 model year was over in May last year. So he sought out a dealer who would work with him and order a 2014. That was harder to do than it sounded, but he did find one who would do it.
Jeff and I then started talking options. My question to him was, "What do you want to do with it? Garage queen? Investment potential?" He said, "I want to drive it and enjoy it." Ah! A man after my own heart! So he took my suggestions and ordered his Shelby with the SVT performance package, Recaro seats, and stripe delete since it would keep the piping in the seats black instead of red that looks much better IMHO. Besides, it makes it look that much meaner and sinister. His color choice was Ruby Red. I told him not to waste his money on the fancy sound system or nav system. The music will come from the exhaust and you won't care if you get lost or not.
He took delivery last fall, but I hadn't been able to see it until the rehearsal dinner at his house. The first thing he does when we get there is grab me and we head toward the garage, much to the chagrin of our wives.
And this is what I see....

It's absolutely stunning!!! Jeff hops in and starts the beast. The built-in 4 pipe sound system was music to my ears. He carefully maneuvers the Shelby out of the garage. I hop in and off we go sedately through the neighborhood listening to the sweet sound of that supercharged 662 HP V8. We drive about 2 miles and make a right turn on a road he knows is flat and straight. He turns off the traction control and mats the gas.
WOW doesn't even begin to describe how wickedly fast this Mustang is! Redline shifts in the first 3 gears send us rocketing down this road at God only knows how fast. I didn't look over to see and I really didn't care! We both had wide grins on our faces. Jeff slows us down to near-legal speeds and turns into an industrial park that vacant. You can guess what's coming next. A couple of scorching burnouts later and we're sitting there smelling fresh rubber lingering in the air.
Then the ride goes over the top!!!!
Jeff says to me, "No one else have driven this car except me. But today, It's your turn!"
Now that is trust and friendship! We traded seats, I buckled myself in, and turned the key. Ohhhh sweet mama! The clutch is really tight and has only a 1/2 of travel to engage. So it took a little getting used to. Then the shifter throw is maybe 2"!!! My wrist never moved. My fingers could pull the shifter from 1st to 2nd gear!. I took it easy driving out of the industrial park. I made a right turn to head back to where we had come from. As soon as I crossed the railroad tracks and a right-hand curve, I had that same stretch of open, flat, straight road Jeff brought us down earlier. I had just shifted into 2nd gear and got up to about 3,000 RPM when I matted the gas. It took some quick and short adjustments of the steering wheel to keep it straight but I swear I had never driven anything else with this much power and acceleration! A 6,000 RPM shift to 3rd and wide open throttle yielded the same neck-snapping acceleration! (Thank heaven for the Recaro seats!) A Shift into 4th and I had to get out of the gas since I started to run out of road. How fast was I going? I have no idea! I didn't care!
The wide grin stayed on our faces the whole evening, even though we were naughty for leaving the rehearsal dinner for 15 minutes.
This Mustang was worth the price of admission! It wasn't just the drive train that was excellent. The ride was rock solid. The fit of the seats is like nothing else. The whole car is amazing.

So now I can cross an item off my bucket list--Drive a Shelby GT 500 Mustang!
Thank you Jeff...and thank you Mr. Spicy for the motivation to get mine done sooner.
Jeff and I are like brothers and have shared life experiences that are both good and bad. That's what keeps us close. Jeff also started and is president of a rather successful seasoning and flavoring company. So he's a busy guy with not a lot of spare time on his hands.
He's been a huge supporter of my fastback project and needles me about when I'm gonna get it done every chance he gets. So while I was in Cincy for the wedding, he gave me a huge incentive to get my restoration consistently on-track.
Enter Mr. Spicy.
A year ago, Jeff started talking about getting a "midlife crisis" toy. The car that floated to the top of his list after several discussions with me was a Shelby GT 500. And a convertible to boot. The 2013 model year was over in May last year. So he sought out a dealer who would work with him and order a 2014. That was harder to do than it sounded, but he did find one who would do it.
Jeff and I then started talking options. My question to him was, "What do you want to do with it? Garage queen? Investment potential?" He said, "I want to drive it and enjoy it." Ah! A man after my own heart! So he took my suggestions and ordered his Shelby with the SVT performance package, Recaro seats, and stripe delete since it would keep the piping in the seats black instead of red that looks much better IMHO. Besides, it makes it look that much meaner and sinister. His color choice was Ruby Red. I told him not to waste his money on the fancy sound system or nav system. The music will come from the exhaust and you won't care if you get lost or not.
He took delivery last fall, but I hadn't been able to see it until the rehearsal dinner at his house. The first thing he does when we get there is grab me and we head toward the garage, much to the chagrin of our wives.
And this is what I see....
It's absolutely stunning!!! Jeff hops in and starts the beast. The built-in 4 pipe sound system was music to my ears. He carefully maneuvers the Shelby out of the garage. I hop in and off we go sedately through the neighborhood listening to the sweet sound of that supercharged 662 HP V8. We drive about 2 miles and make a right turn on a road he knows is flat and straight. He turns off the traction control and mats the gas.
WOW doesn't even begin to describe how wickedly fast this Mustang is! Redline shifts in the first 3 gears send us rocketing down this road at God only knows how fast. I didn't look over to see and I really didn't care! We both had wide grins on our faces. Jeff slows us down to near-legal speeds and turns into an industrial park that vacant. You can guess what's coming next. A couple of scorching burnouts later and we're sitting there smelling fresh rubber lingering in the air.
Then the ride goes over the top!!!!
Jeff says to me, "No one else have driven this car except me. But today, It's your turn!"
Now that is trust and friendship! We traded seats, I buckled myself in, and turned the key. Ohhhh sweet mama! The clutch is really tight and has only a 1/2 of travel to engage. So it took a little getting used to. Then the shifter throw is maybe 2"!!! My wrist never moved. My fingers could pull the shifter from 1st to 2nd gear!. I took it easy driving out of the industrial park. I made a right turn to head back to where we had come from. As soon as I crossed the railroad tracks and a right-hand curve, I had that same stretch of open, flat, straight road Jeff brought us down earlier. I had just shifted into 2nd gear and got up to about 3,000 RPM when I matted the gas. It took some quick and short adjustments of the steering wheel to keep it straight but I swear I had never driven anything else with this much power and acceleration! A 6,000 RPM shift to 3rd and wide open throttle yielded the same neck-snapping acceleration! (Thank heaven for the Recaro seats!) A Shift into 4th and I had to get out of the gas since I started to run out of road. How fast was I going? I have no idea! I didn't care!
The wide grin stayed on our faces the whole evening, even though we were naughty for leaving the rehearsal dinner for 15 minutes.
This Mustang was worth the price of admission! It wasn't just the drive train that was excellent. The ride was rock solid. The fit of the seats is like nothing else. The whole car is amazing.
So now I can cross an item off my bucket list--Drive a Shelby GT 500 Mustang!
Thank you Jeff...and thank you Mr. Spicy for the motivation to get mine done sooner.