Sometime it's hard to get motivated on a project, especially when the task at hand isn't part of a creative process. Replacing rusted and damaged body sections is creative. Applying body filler and smoothing the contour of a panel is creative. Fitting body panels, suspension components, and applying sealer, primer, and paint is creative. Removing 47 year old seam sealer is...well...not creative. So my motivation was waning. But so is the favorable weather of the fall season. I've got to get my butt in gear.
So after garage recovery (which seems to be an on-going process) from replacing rusted brake and fuel lines on the '97 Civic with 295,000 miles on it that no one in the family want me to sell, I rolled the fastback out into the driveway to work on the sealer/undercoating removal using a modified method Sven used that I mentioned in my last post.
The method using the multi-tool is a good way to go. Wear hearing protection as it's loud. I was not able to find a narrow scraping blade at Lowes. So I took one of the 1" saw blades that was worn out, used my stand grinder to shape a bevel on the end, and used that. It made getting into tight spaces easier. As you can see from the photos below, it does an acceptable job of removing the sealer. There's nothing romantic about this work. So I'm not spending a lot of time describing the process. It's simple. Put blade in multi-tool. Plug in. Turn on. Remove sealer.


A thin film of black goo remained that my abrasive brush on a 9" grinder didn't remove. But then I went back to Sven's post and saw that after he chipped the sealer away, the residue can be removed by using the stripper he mentioned and wiping down with Mineral Spirits.

I got as far at the back seat brackets. The one thing I discovered was all the MIG welding wire sticking out and gobby welds on the car. I think my 7 year old granddaughter could have done that good. It's a testament to how much build quality has improved, not to mention component fit and finish. The sealer obviously was used to cover up gaps at body panel joints.
While working on the sealer, I suddenly realized that it might work on the goo that was around the windshield and back glass. Even though it was soft and pliable, I wasn't looking forward to scraping that out of the window channel. I have nothing to loose by trying it out.
Well kids, it worked great! I only got the driver's side of the window channel done, but it won't take long to finish the rest. I'll try the stripper on that as well to get rid of the residue.
This method also worked to get rid of the sealant in the drip rail area too. (Sorry for the blurry picture.)

I got out my 4" grinder with a stripping disc to find out how well it would remove the sealer residue with the same poor results and the cone brush. So I decided to start on the roof since it was in front of me and I was satisfied that the multi-tool process would continue quickly at a later date. I got about 20% of it stripped, and then called it a day since I had a smoker full of protein that needed my attention and I have to get ready to go to Canada for 10 days on Tuesday.

I got the sealer remains swept up out the the garage and drive. I used my shop vac to clean out the inside of the body shell, including the remnants of the Black Diamond blasting media. With the fastback safely tucked back in the garage and tools put away, I hit the shower to get cleaned up.
After I got out of the shower, my wife tells me that a couple of guys knocked on the door and asked if I still had the Mustang I had purchased from their friend, was I working on it, and if not, was it for sale. My wife said, "Yes, he still has it. Yes, he's still working on it. And No! It's NOT for sale." I guess that means I better keep working on it since my bride does not want me to sell it. Wow! What a woman!
Unfortunately, between work and family obligations, I will only be home for 6 days during the month of October. So work will not progress as fast as I would like. But looking on the bright side, my fastback is "NOT for sale".
Until the next time...
So after garage recovery (which seems to be an on-going process) from replacing rusted brake and fuel lines on the '97 Civic with 295,000 miles on it that no one in the family want me to sell, I rolled the fastback out into the driveway to work on the sealer/undercoating removal using a modified method Sven used that I mentioned in my last post.
The method using the multi-tool is a good way to go. Wear hearing protection as it's loud. I was not able to find a narrow scraping blade at Lowes. So I took one of the 1" saw blades that was worn out, used my stand grinder to shape a bevel on the end, and used that. It made getting into tight spaces easier. As you can see from the photos below, it does an acceptable job of removing the sealer. There's nothing romantic about this work. So I'm not spending a lot of time describing the process. It's simple. Put blade in multi-tool. Plug in. Turn on. Remove sealer.


A thin film of black goo remained that my abrasive brush on a 9" grinder didn't remove. But then I went back to Sven's post and saw that after he chipped the sealer away, the residue can be removed by using the stripper he mentioned and wiping down with Mineral Spirits.

I got as far at the back seat brackets. The one thing I discovered was all the MIG welding wire sticking out and gobby welds on the car. I think my 7 year old granddaughter could have done that good. It's a testament to how much build quality has improved, not to mention component fit and finish. The sealer obviously was used to cover up gaps at body panel joints.
While working on the sealer, I suddenly realized that it might work on the goo that was around the windshield and back glass. Even though it was soft and pliable, I wasn't looking forward to scraping that out of the window channel. I have nothing to loose by trying it out.
 | |
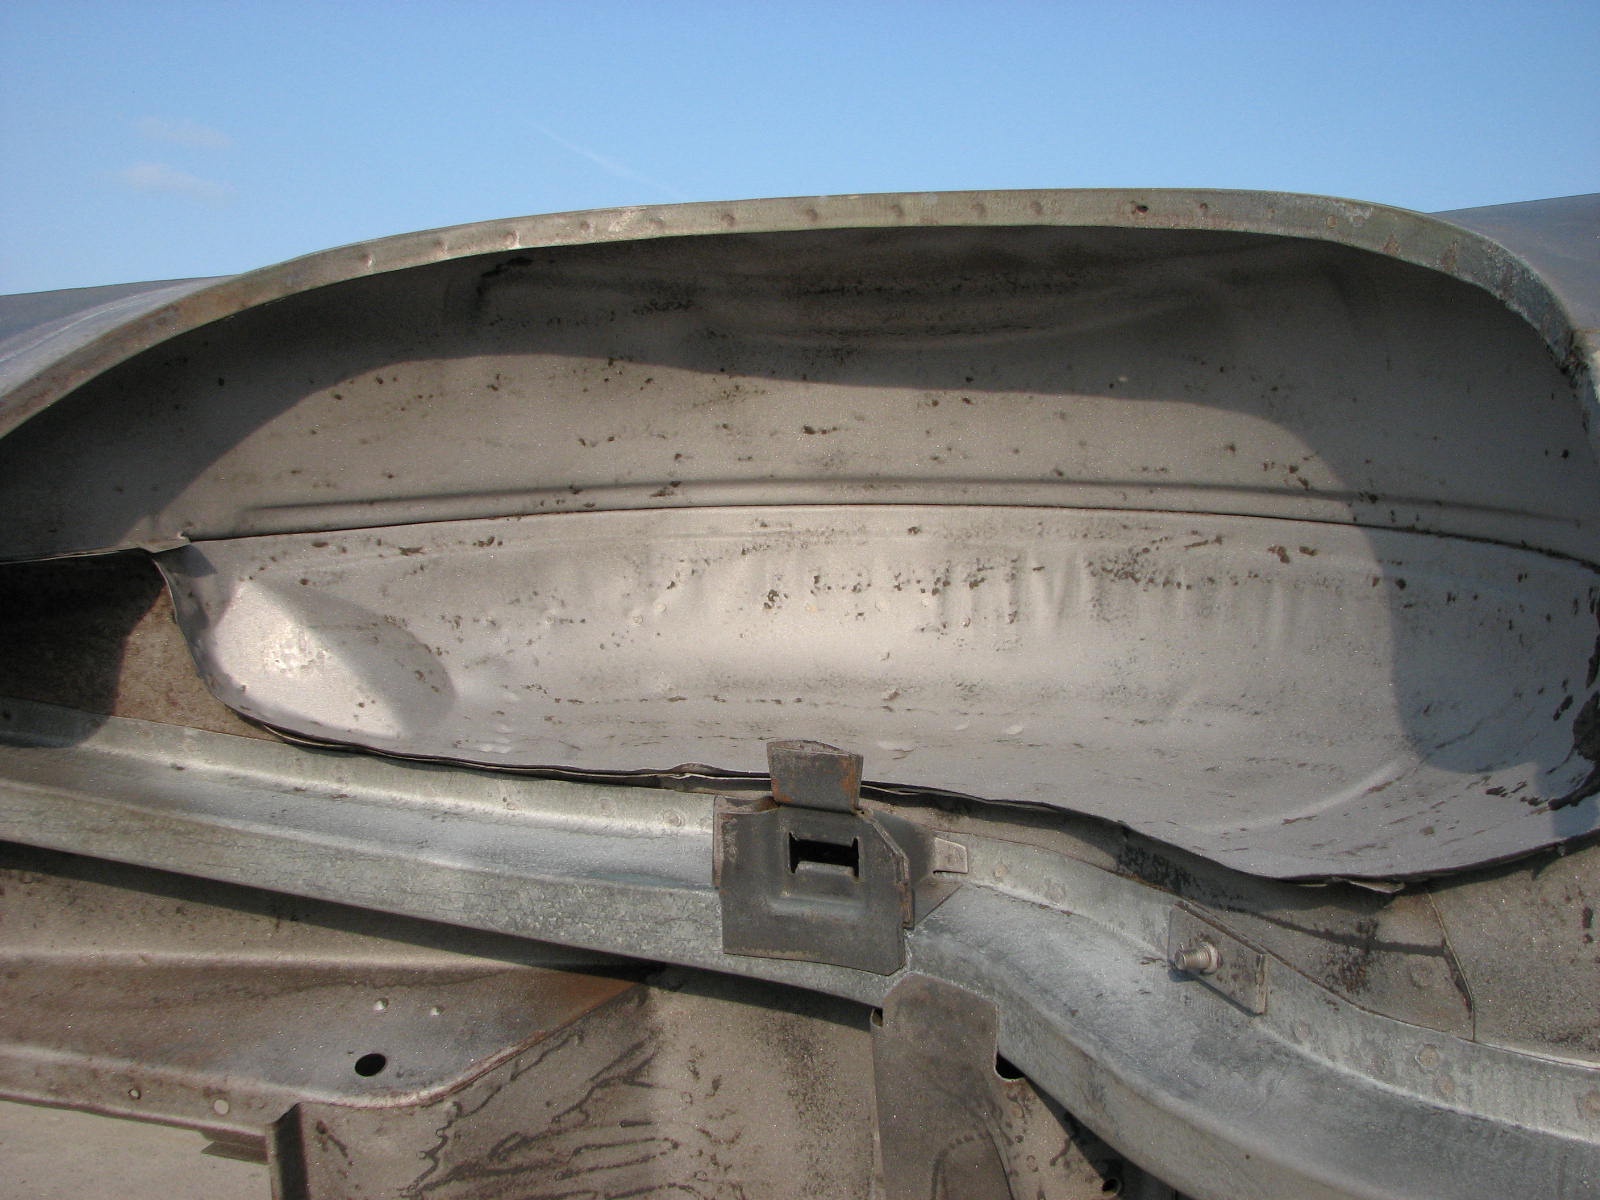
| This is the 'before' picture with the window sealer in the channel |
Well kids, it worked great! I only got the driver's side of the window channel done, but it won't take long to finish the rest. I'll try the stripper on that as well to get rid of the residue.
 |
| This is the "after" picture with the sealer removed. it got almost all of it off. |
 |
| The windshield "before"... |
 |
| ...and the windshield "after". |

I got out my 4" grinder with a stripping disc to find out how well it would remove the sealer residue with the same poor results and the cone brush. So I decided to start on the roof since it was in front of me and I was satisfied that the multi-tool process would continue quickly at a later date. I got about 20% of it stripped, and then called it a day since I had a smoker full of protein that needed my attention and I have to get ready to go to Canada for 10 days on Tuesday.

After I got out of the shower, my wife tells me that a couple of guys knocked on the door and asked if I still had the Mustang I had purchased from their friend, was I working on it, and if not, was it for sale. My wife said, "Yes, he still has it. Yes, he's still working on it. And No! It's NOT for sale." I guess that means I better keep working on it since my bride does not want me to sell it. Wow! What a woman!
Unfortunately, between work and family obligations, I will only be home for 6 days during the month of October. So work will not progress as fast as I would like. But looking on the bright side, my fastback is "NOT for sale".
Until the next time...