After dealing with the effects of "trunkliditis", that is finding that the original was beyond reasonable repair... and then getting a Dynacorn deck lid... and finding out that the fit was horrid, it was time to reassess the situation. My options were...
1. Keep the Dynacorn trunk lid and go through the pains of modifying it to make it fit correctly.
2. Search for an original trunk lid and send the Dynacorn lid packing to Year One or eBay.
3. Cut up the Dynacorn lid and use it to repair the original.
I was talking with my wife about said crappy reproduction lid. She said it would be worth the extra money to get a good original considering my time and effort involved to make the Dynacorn one work to my satisfaction. (How blessed I am to have a supportive wife!). With that said, option 2 would be the first to pursue.
I send an email to Gregg Cly, the Mustang guru from Texas I met last summer, asking if he could find a trunk lid through his sources. He emailed back saying he would see what he could find for me. I then started thinking about the cost of a nice trunk lid and the shipping on top of that and figured I'd be north of $450-$550 to get it here. What was on eBay was junk. Craigslist was a bust as well. And then I thought, "What about Vail's?"
For those unfamiliar with them, Vail's Classic Cars in Greenfield, Indiana is a nationally renown restoration shop. They do restoration to concours level, higher end hot rods, and have done some outstanding tribute cars. They have a killer collection of their own Mustangs including a 69 and 70 Boss 302, one that's a survivor. They have a 66 K code GT convertible, a 67 Shelby GT500 and a 68-1/2 one-of-one Cobrajet. Mustangs are their specialty but they have done other makes such as tri-five Chevys, T-Birds, a host of Mopars. You can check them out
here at Vail's Classic Cars
I gave them a call and Kenny told me he had 3 deck lids, one that he though had some rust in it from a mouse nest, one that had some surface rust, and another that was a very nice. So I decided to venture over there during lunch. Kenny and one of the Mustang restorers took be back to their rack of parts. Holy mackerel!!! They must have had a dozen trunk lids for 69-70 sportroofs, hoods galore for all years, doors, and just about any original and some aftermarket sheetmetal you could imagine. And that was just one warehouse rack!
They got down all three trunk lids. The very nice original came off a California car. It was spotless...and priceless... at the tune of $600! Definitely more than I wanted to spend. The next one was another original but it had rust that was causing the outer skin that's folded over to the under structure at the lower middle of the rear to push out. That would require some cutting and patching. The rest of it was very good with a ding or two that would need repairing. The price? $250. And then there was the one that Kenny thought had a rust hole in it from a mouse nest. It wasn't a hole but surface rust...but... it was an aftermarket piece. It had been around quite a while judging from the condition of it. I mentioned my reluctance to get another reproduction and expressed my disappointment with the Dynacorn part. The Mustang guy said he thought they were pretty good and could be modified easily. Maybe for him because he works on Mustangs for a living. He's talking about separating the inner structure and modifying the outer skin, etc. etc. Not for me. The old reproduction lid was in OK condition and could be cleaned up easily. I was told that it wasn't a Dynacorn part and I can't remember who he said was the manufacturer. The price? $160. But Kenny said since I drove out to see them, he'd do it for $140.
Hmmmm..... I was tempted to walk away and pursue my other options. But before I did that, I took the nice California part and thought I'd compare it with the repro like I did with my original trunk lid.
I was surprised because it actually was really close. Then Kenny said, "If you get it home and it doesn't work, bring it back and I'll refund your money." Sold. I figured the worse that could happen is that I'm out an hour's worth of drive time and $10 in gas. If it didn't pan out, I'll be back to looking at option 1 or 3.
After all my obligations were over at church for the evening, I hauled reproduction lid #2 into the garage and set up my body stand to do the comparison of this one with the original. The results were surprising.
The corners and the reveal line in the repro were almost dead on!
The center raised rib was lined up and had a slightly sharper form than the Dynacorn lid...
The opposite end of the deck lid was the same as the other...too close to call with key body lines spot on...
The stamping marks, location-wise, were also really good. The "knock-outs" were still in place on the repro compared to the Dynacorn that had them punched out. I know those areas are under the hinge, but it does speak to the attempt at actually reproducing the original part.
The reproduction even had some of the wrinkles from the the drawing of the part during stamping like the original.
The corners were again lining up perfectly. This was turning out much better than I ever imagined.
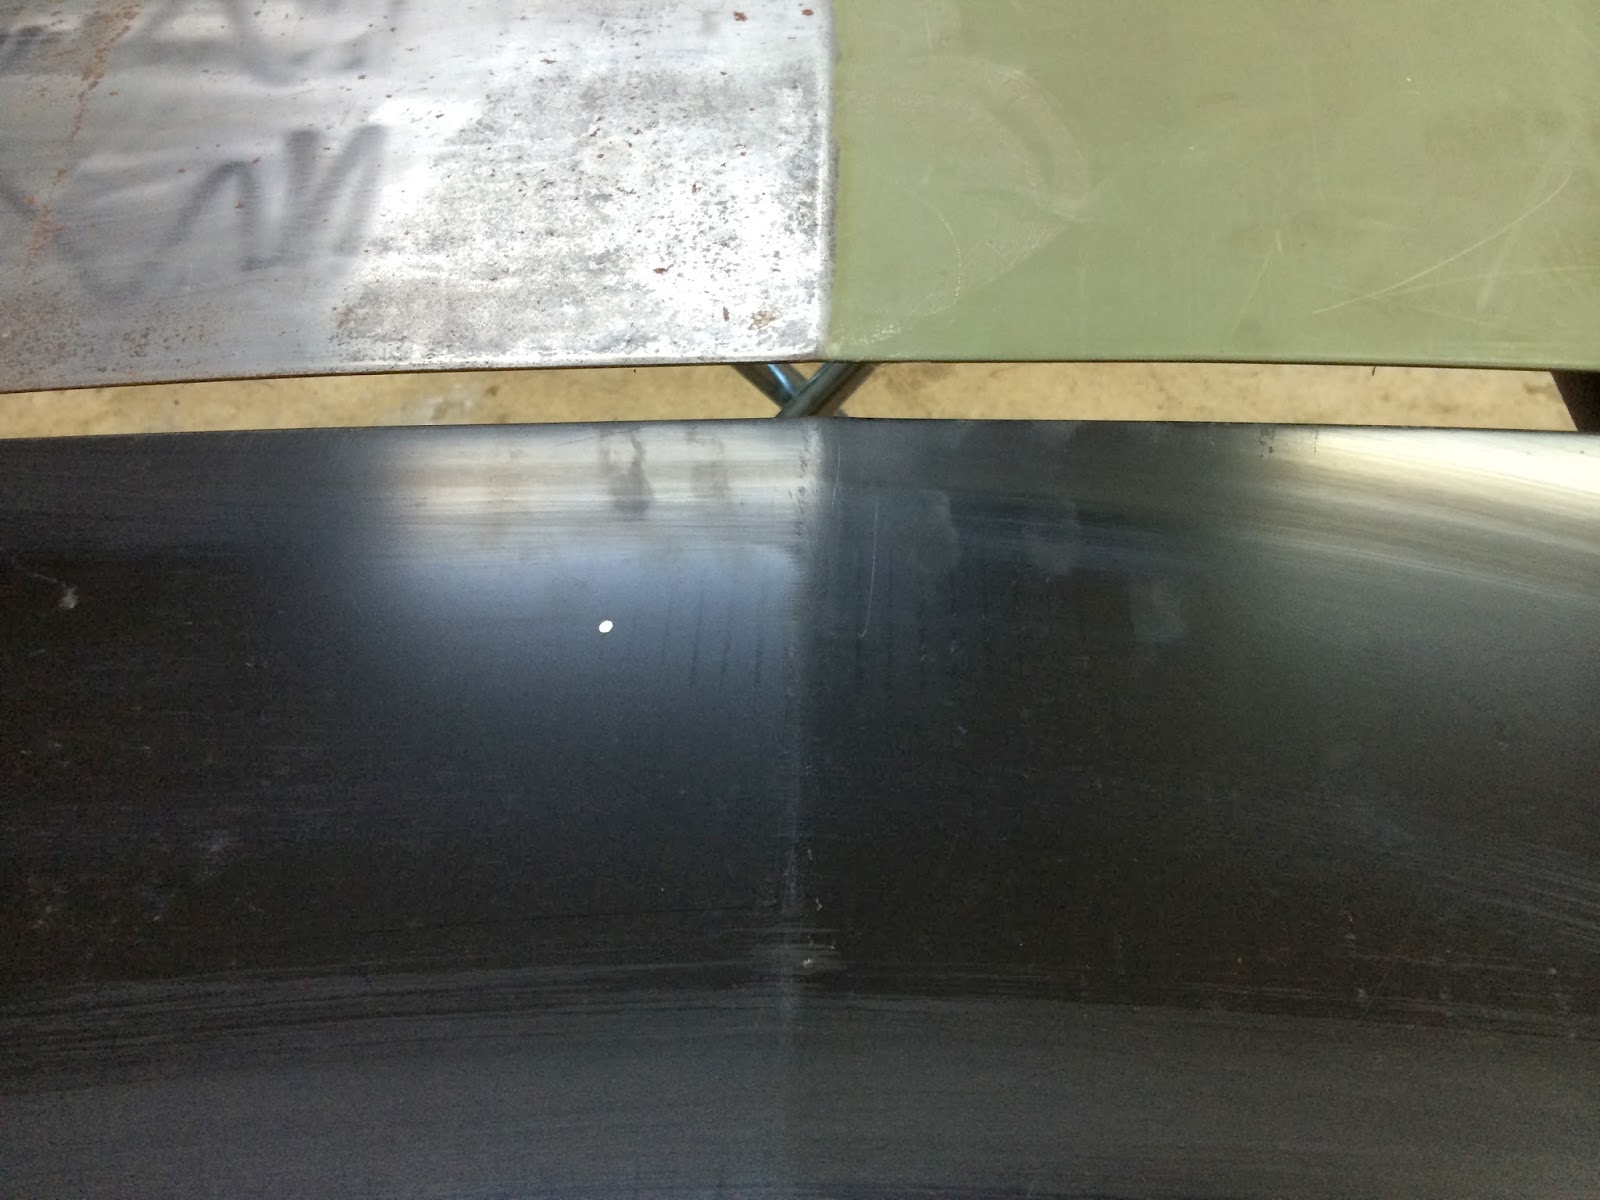
 |
| The rust on the reproduction lid is surface rust and should clean up easily |
|
The forming of the upper corners was virtually the same, especially the contour that needs to match the body lines...
When it came to the rear lip match and forming, it was fairly close...not perfect, but workable...
The proof in the pudding would be how it fit on the body. I grabbed a roll of masking tape to lay down the form line on the repro trunk lid on both sides. The fit on the drivers side was very good. The gap was not as tight as the Dynacorn lid. And the body contour from the top of the quarter up to the bottom of the rear window was excellent. Things are looking up...
Now to the right side that was the glaring problem before. Wow! Much better alignment!....
...and the contour match with the body and gap was much improved....
I think we have a winner. The old reproduction trunk lid will work with very little tweaking. And it's cleaner from a paint and surface rust standpoint than the $250 original.
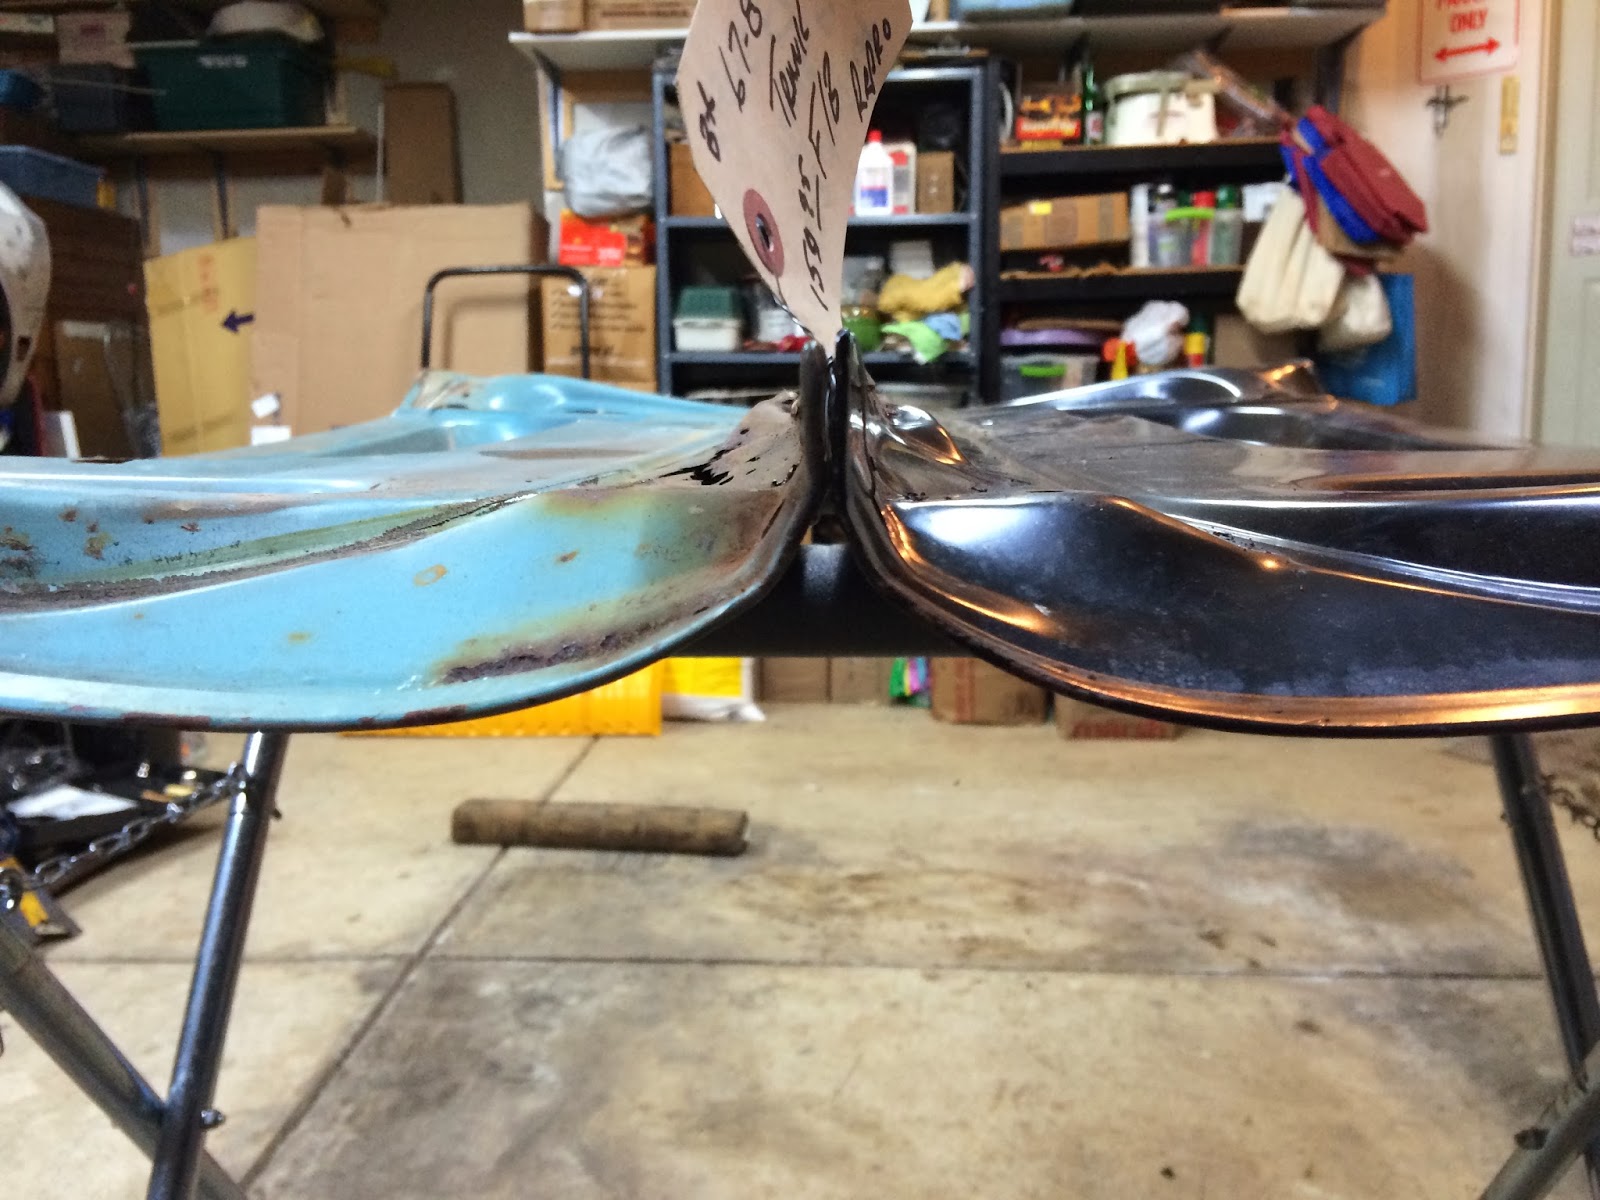
I couldn't help but compare the Dynacorn lid with this old reproduction. The results were interesting. The Dynacorn is on the left and the reproduction on the right. Immediately I could see all the form lines were sharper in the older reproduction. Not only that, the corner and the body reveal lines on the Dynacorn lid didn't match at all, just like it was with my original. you can also see how weak the form line is on the body reveal line running through the trunk. Unbelievable.
The corner at the other end was off, but the body lines were on target...
Again, the Dynacorn is on the left and the old repro on the right. The corners didn't line up vertically on this side....
...and it wasn't much better on the other end, if not worse....
So, I would have to say, I have a good trunk lid to work with. I'll email Gregg and let him know I got one so he won't be looking for one. And I'll give Year One a call and get an RMA to return the POC that I got. They will take it back, but they may not pay for return shipping. I'll have to find out. Anyway...
With this little "hiccup" behind me, I can move on to other parts of the body, like finishing up the inside of the right front fender and starting on the left front fender stripping and cleaning. The weather is supposed to start warming up next week, that is, if you call a high temperature in the low 30's warm. With almost three weeks with the temps here below freezing, I'll take what I can get.
Until the next time...