Once again, I headed north of the border the first weekend in February for more work among the First Nation people in northern Ontario. I conducted a "train the trainer" class on family and parenting for a group of aboriginal pastors and elders. It's a badly needed skill among the many communities thanks to the decades of children being raised in residential schools. But that's another story for another time.
Nnow that I'm back home and south of the Canadian (Eh?) border for at least a few weeks, it was time for a little R & R... Relax and Restoration. It was not going to be anything exciting, but a continuation of the joys of surface preparation for paint. It's boring. It's dirty. It's time consuming. But necessary.
The remaining part of the body that needed prepping were the rocker panels, the door frame pillars and surround, and the entire inside of the body. That's a lot of real estate. But on with the show.
First task was to start on the passenger side since it's the easiest part of the body to get to without too much rearranging. I had ordered a box of 2" 3M aluminum oxide Roloc conditioning disc along with a box of 5" hook and loop conditioning disc and backing pad. The amount of money spend on consumables just to clean up the surface of the body for any paint and body work is adding up. But it has to be done and is a lot cheaper than what professional media blasting or dipping would cost.
I removed the door hinges being sure to make sure that they were marked for the right side and position. I was going to do the trick of drilling an 1/8" whole through the hinge under the mounting bolts. However, the hinge is thick and I'll be hanging a different original fender on the front. So screw that idea especially since it's time spend on something that just isn't worth the effort in the long run.
I guess I've been putting this area off because of all the intricate surfaces. But with an arsenal of discs, wire brushes, and bristle brushes of various sizes, there was no excuse left.
 |
| The "before" shot of the door frame surround and rocker panel |
There's not a lot to show except the "after" pictures. This represented over 2 hours of stripping and cleaning...
 |
| The B-pillar all cleaned up |
 |
| The A-pillar all shiny |
 |
| The cleaned up rocker panel (minus the pinch weld on the bottom) |
 |
| The progress after one long evening |
When this last Saturday rolled around, I moved to the inside to try and get as much of the passenger side done. The heater was fired up, the "kill room" curtains lowered, and all the tools and supplies laid out.
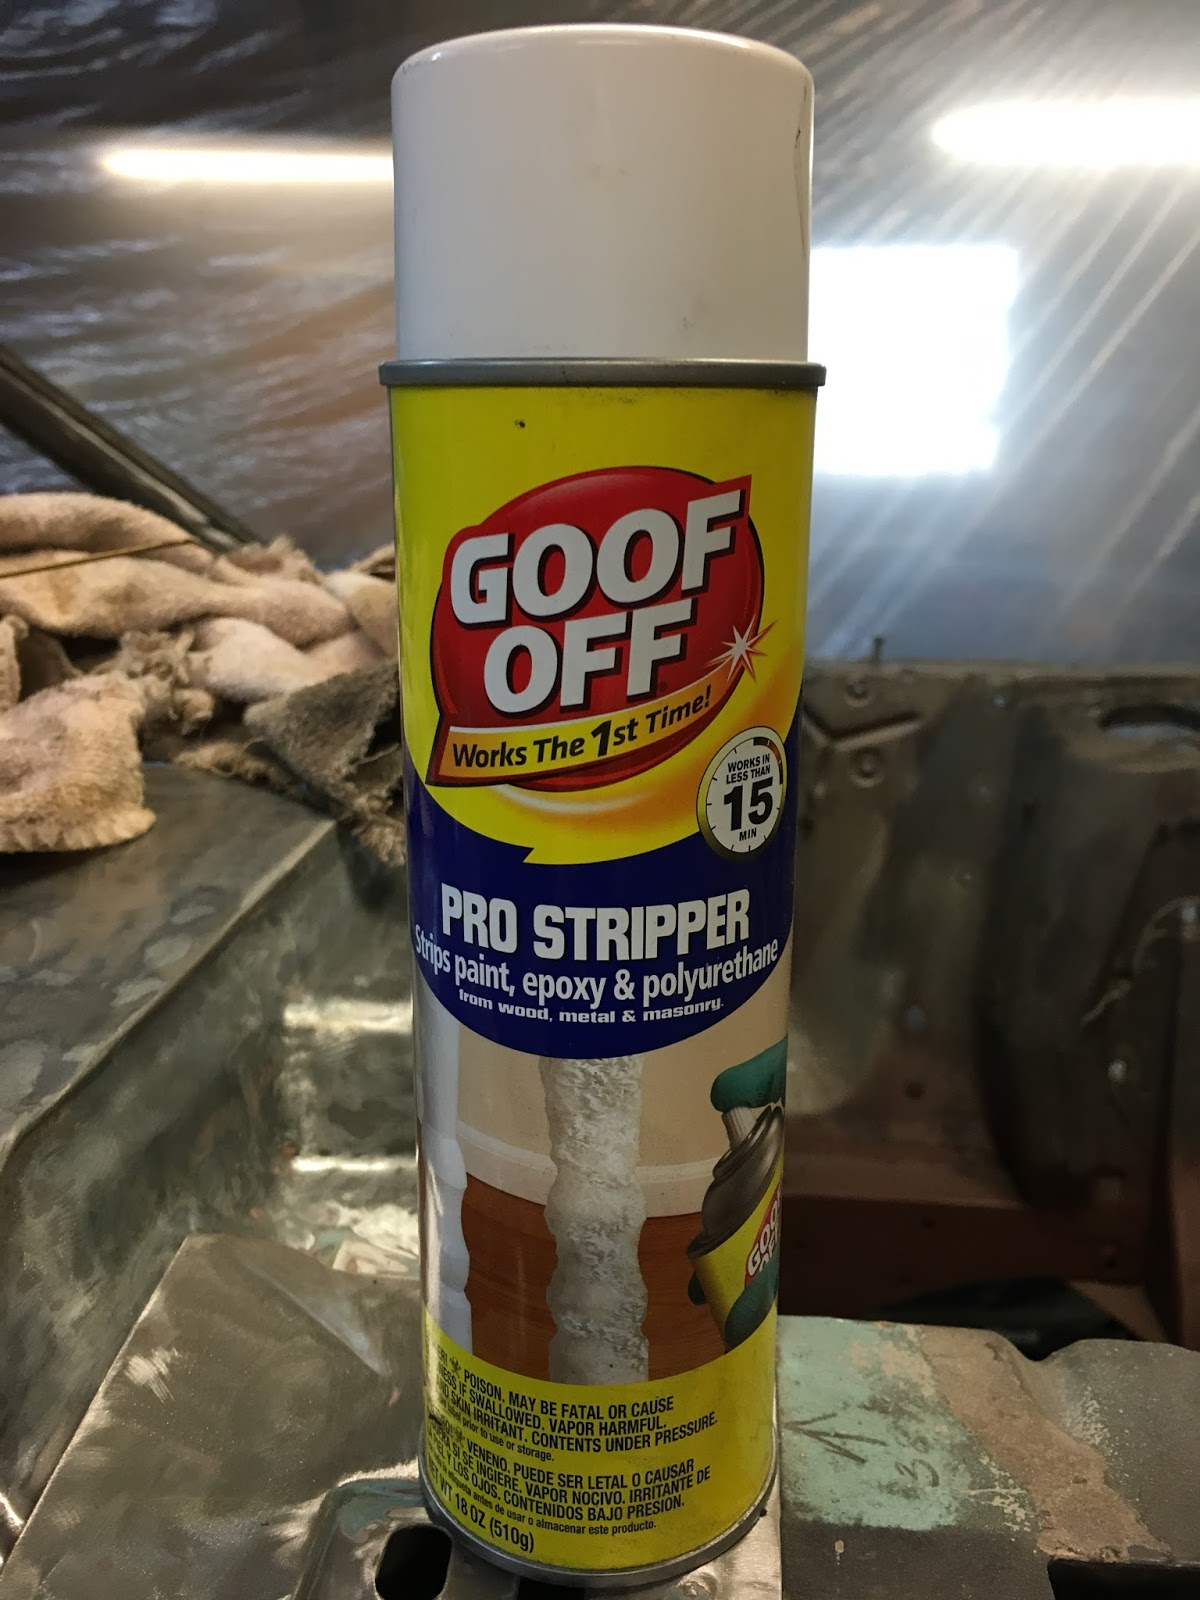
I used "Goof Off" spray stripper and coated all the old seam sealer and let it soak in for 10-15 minutes. A wood chisel provided the method to scrape the majority of the sealer away. This took about the same amount of time as using my multi-tool with a scraper blade. The results were mixed. Some of it popped off all the way to clean bare metal. Other sections didn't and left a layer of residue. It took another application and some "persuading" with "O" steel wool and a red Scotch-Brite pad. The remainder was removed with a rag and mineral spirits. A blast of air cleaned out the joints. (PSA: be sure to wear rubber gloves, goggles or face shield, and a fan to vent the area). I crawled up through the gas tank opening and cleaned up the rear axle tunnel. (Try that on a Government Motors car!) I was able to finish the floor from the axle tunnel up to the the floor before the toe board. I'd do that when I dive under the dash.
 |
| The cleaned up passenger side floor |
I pulled the rotisserie into the middle of the garage and re positioned all my tools and supplies to the driver side. First task was removing the driver side door hinges. Then I started cleaning up the A-pillar. I had a malfunction/failure of the 4-1/2" grinder hook and loop backing pad. (Let's just say it involved operator error and a band-aid). That limited my productivity on the door frame.
I decided to move on to removing the sealer on the driver side floor. It looks like crap after the first application and removal. But the final product is quite acceptable, in my humble opinion.
 |
| Part way through the sealer stripping process |
I realized that it was time for supper both by the clock and my growling gut. Beside that, my back was beginning to protest. I can't imagine what it would have been like to do this WITHOUT the rotisserie. Best money I've spend on a restoration tool! (I'm hoping to sell it this spring...hopefully)
I got on my Amazon account and ordered another 5" backing pad and a 3" pad with a box of conditioning disc to get into smaller spaces with the angle grinder without having to deal with "Big Bertha" having to keep up with compressed air. The plan is to do another weeknight and Saturday to try and knock out not only the floor, but start the work up the back side of the firewall and underside of the dash.
At any rate, there's more progress made and another bite of the elephant swallowed.
Until the next time.