What a tedious, dirty, and somewhat hazardous job this has turned out to be. I never would have thought cleaning out the factory sealer and surface rust would end up with hours of work and dollars of consumables. But it is what it is.
This post represents a number of nights and a long Saturday of work. And I'm still not done yet. But let's not dwell on that. First order of business is safety first. I use ear plugs instead of the muffs which are bulky in tight places. Don't I look dashing?!?!
 |
| Decked out in all my safety gear. |
I found that the best and quickest way to remove the factory seam sealer is Goof Off. It's easy to apply and works well. It will take three coats. The first will get the majority of the larger pieces of seam sealer loose. I used a wood chisel to scrape the first layer away. The second coat will get most of the sealer off with the chisel and coarse steel wool. The third coat I used red ScotchBrite pads to get the last of the sealer off. Then I wiped down the area with mineral spirits on a cloth. Finally, I used paper towels to dry off the mineral spirits.
 |
| This does a good job cutting through the factory seam sealer |
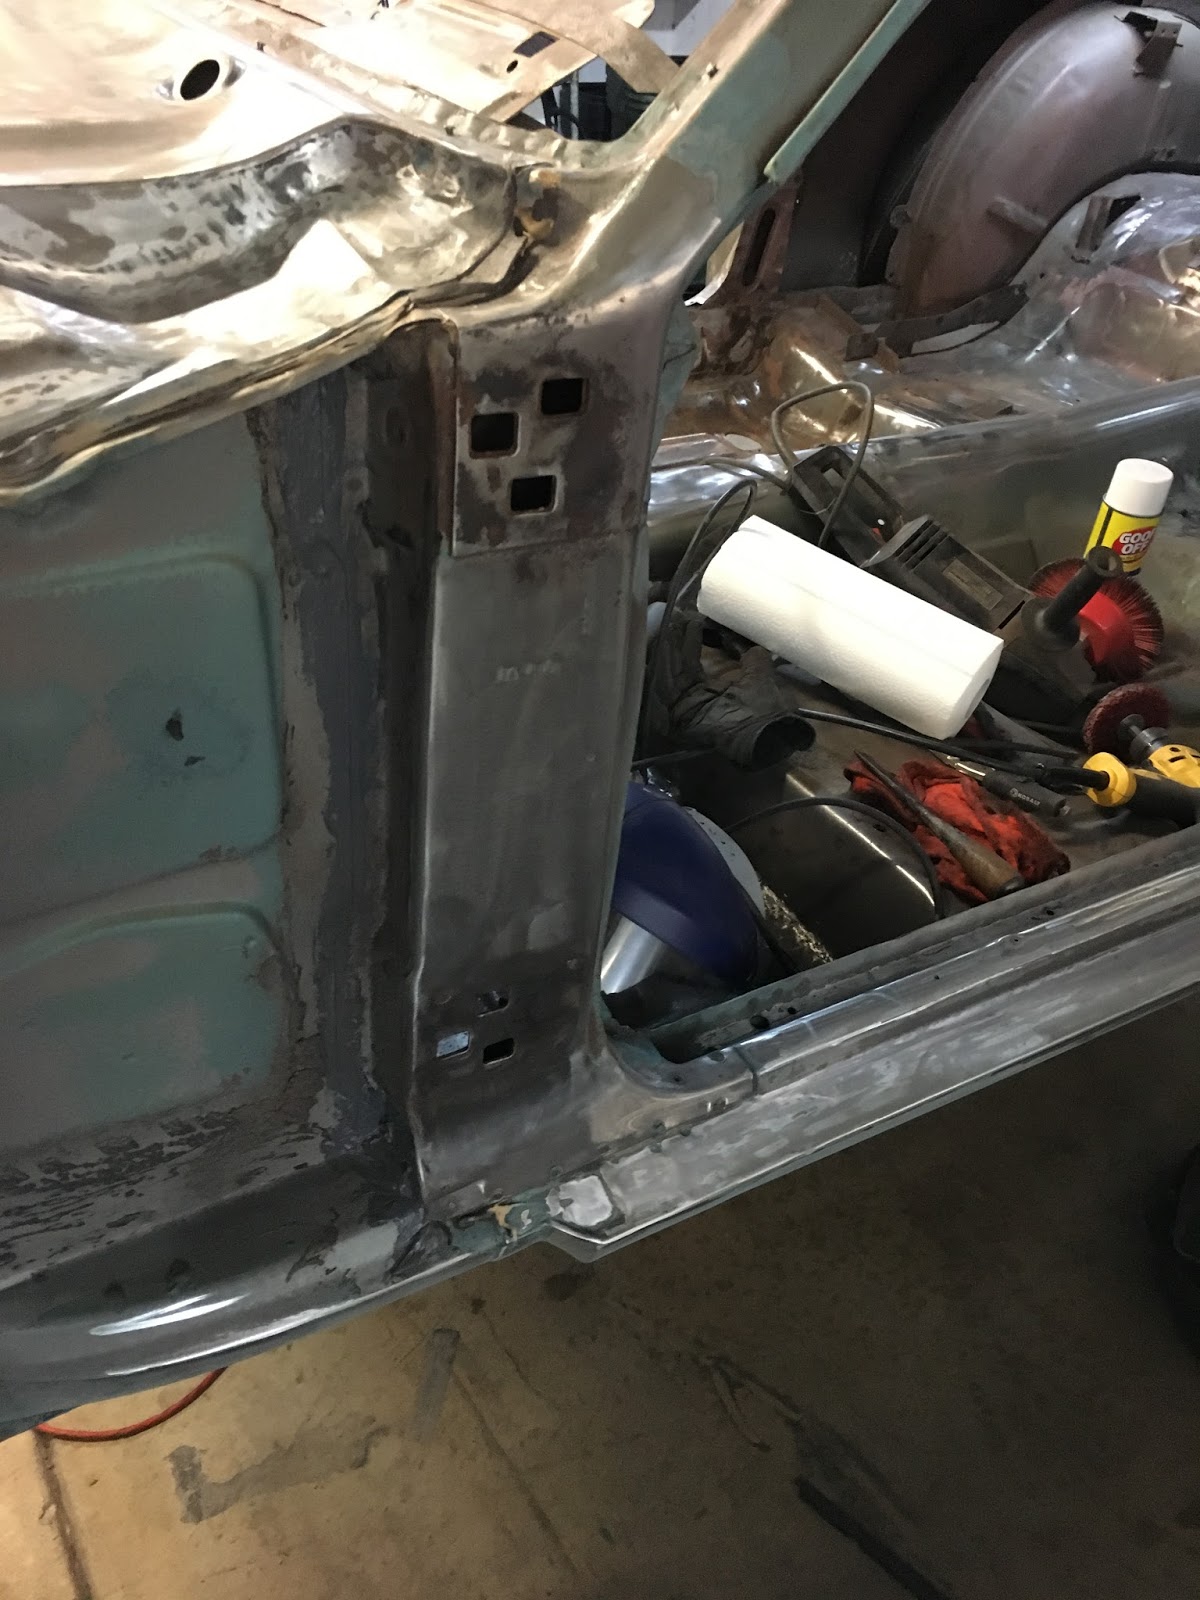
 |
| The seam sealer is all gone and cleaned up |
That process of removing the sealer worked the best. The next step was to use the combination of 4-1/2" and 2" surface conditioning disc. I did buy a lot of 25 Sharp brand 3" Rolok surface disc. They seem to hold up a little better than the 3M disc. So work began on the door jamb area.
 |
| cleaning up the rocker panel and door jamb |
The left rear quarter panel had never been completely stripped of paint entirely and there was some primer left from previous metal work. So I got this all done.
I then started on the interior driver's side and got most of that cleaned up from the rear diff tunnel to the foot well area.
Then it was on to the part I was dreading...the upper firewall and cowl behind the dash.
The advantage to the rotisserie is easier access to areas like this. It's not easy. Just easier. I can't imagine laying on my back or in a contorted position to do this work. Because of the confines, I used the 90 degree die grinder with the 2" and 3" conditioning discs.
 |
| This is the view through the dash on the driver's side of the firewall |
On the larger flatter surfaces, I used the 4-1/2" angle grinder, especially on the toe board, side apron and flat areas of the bottom of the cowl. I made good time but found that caution must be exhibited in the process.
 |
| Yes Virginia, the body is upside down! (not the picture) |
My 29 year old Craftsman angle grinder has served me well over the years, especially on my 1929 Ford hotrod and this one. However, I failed to notice a bracket that was spot welded on the bottom of the cowl. The conditioning pad caught it, twisted the grinder out of my right hand where it then proceeded to dance across the back of my left hand, out the door and onto the floor while still turning! Needless to say, there was some collateral damage to me, the grinder, and the hook and loop backing pad.
 |
| My ouchie looks better in the picture than in real life. |
I used this moment to take a break, clean myself up so that a CSI team won't find anymore blood on the garage floor than is already there. The grinder case was now loose at a parting joint. I could probably just use some Gorilla tape to fix it, but decided it was time to replace it. I ended up spending more than planned, but got a DeWalt angle grinder with more amps AND a paddle switch which is much safer than the toggle on the old Craftsman. Besides, almost 30 years of service is enough. I'm also going to make sure I'm wearing my mechanic's gloves when I'm using the grinder.
I had created quite a mess in my "Dexter" kill room, but that plastic cocoon I made has kept the garage messes at bay. I pushed the fastback outside since it was a clear sunny day and blew the crud and dust out of all the nooks and crannies. Again, the rotisserie really helps facilitate this process.
After the cleanup of the body and garage, I tucked her back in the garage. The next step was working on the inside of the roof. I was down to my last 4-1/2" conditioning disc. So I placed another order for a box of 10. The cost of consumables was on a steady climb at this point.
With the body hanging upside down, it made easy work of the roof. My helper Joey came over for a couple of hours one evening and helped with the task. I put him on the new DeWalt grinder and I used my 9" grinder with the big bristle brush that worked OK. I spent a little more time doing some detail cleaning under the dash with my 2" discs.
 |
| My helper Joey getting after the roof |
The roof is about 2/3 done at this point. Joey had school and I was getting tired, especially my hand that was somewhat sore after the fight with the grinder.
I'm probably 75% to 80% done on cleaning up the inside before it's ready for degreasing, resealing, and primer. I did, however, order some of the sealer materials. The October 2017 issue of Mustang Monthly had an article that was quite timely. You can see the article
here. I ordered the "Fast N Firm", the spray rubberized undercoating, and the grey seam sealer that came in a sausage looking tube. So I had to order the special caulking gun to use with that. I was a little shocked at the cost.
 |
| More money for pricy product |
What you see in the picture above represents almost $150 in supplies. And I know I'll need more, especially at sausage seam sealer which is $40+ for that 10 ounce tube. Yikes. And people wonder why restorations can cost so much. I haven't even gotten to the paint yet. But if you're going to do a restoration to this level, it has to be done correctly. So it's part of the price of admission.
I've got work and family obligations this weekend, and I'm waiting for my box of conditioning discs to arrive. It will also give my hand time to heal up some more. Hopefully, I'll be back on this beast in the next week or so. Then I'll get the rest of the inside roof done, a little still left on the underside of the dash on the passenger side, and cleaning up the back of the truck area. It will be time for some degreasing, Pickle-X 20, seam sealing, and finally primer. Then the inside of the body will be finished...finally.
Until the next time.


