This is one of those times when I shake my head and wonder what I was thinking in the first place. The easy way out would have been to go buy a repro fender and put it on the car. But I've seen too many pictures, including big-name magazines where the body lines don't match and it's very noticeable. That's the reason I put all the work into an original fender including replacing the headlight bucket and rear support. However, the patch I put in to fix the rust in the lower rear of the fender didn't look right to me.
So I did another patch, larger this time. It was "OK" but not my best work. I cut out the first patch and had the rough shape of the new patch.

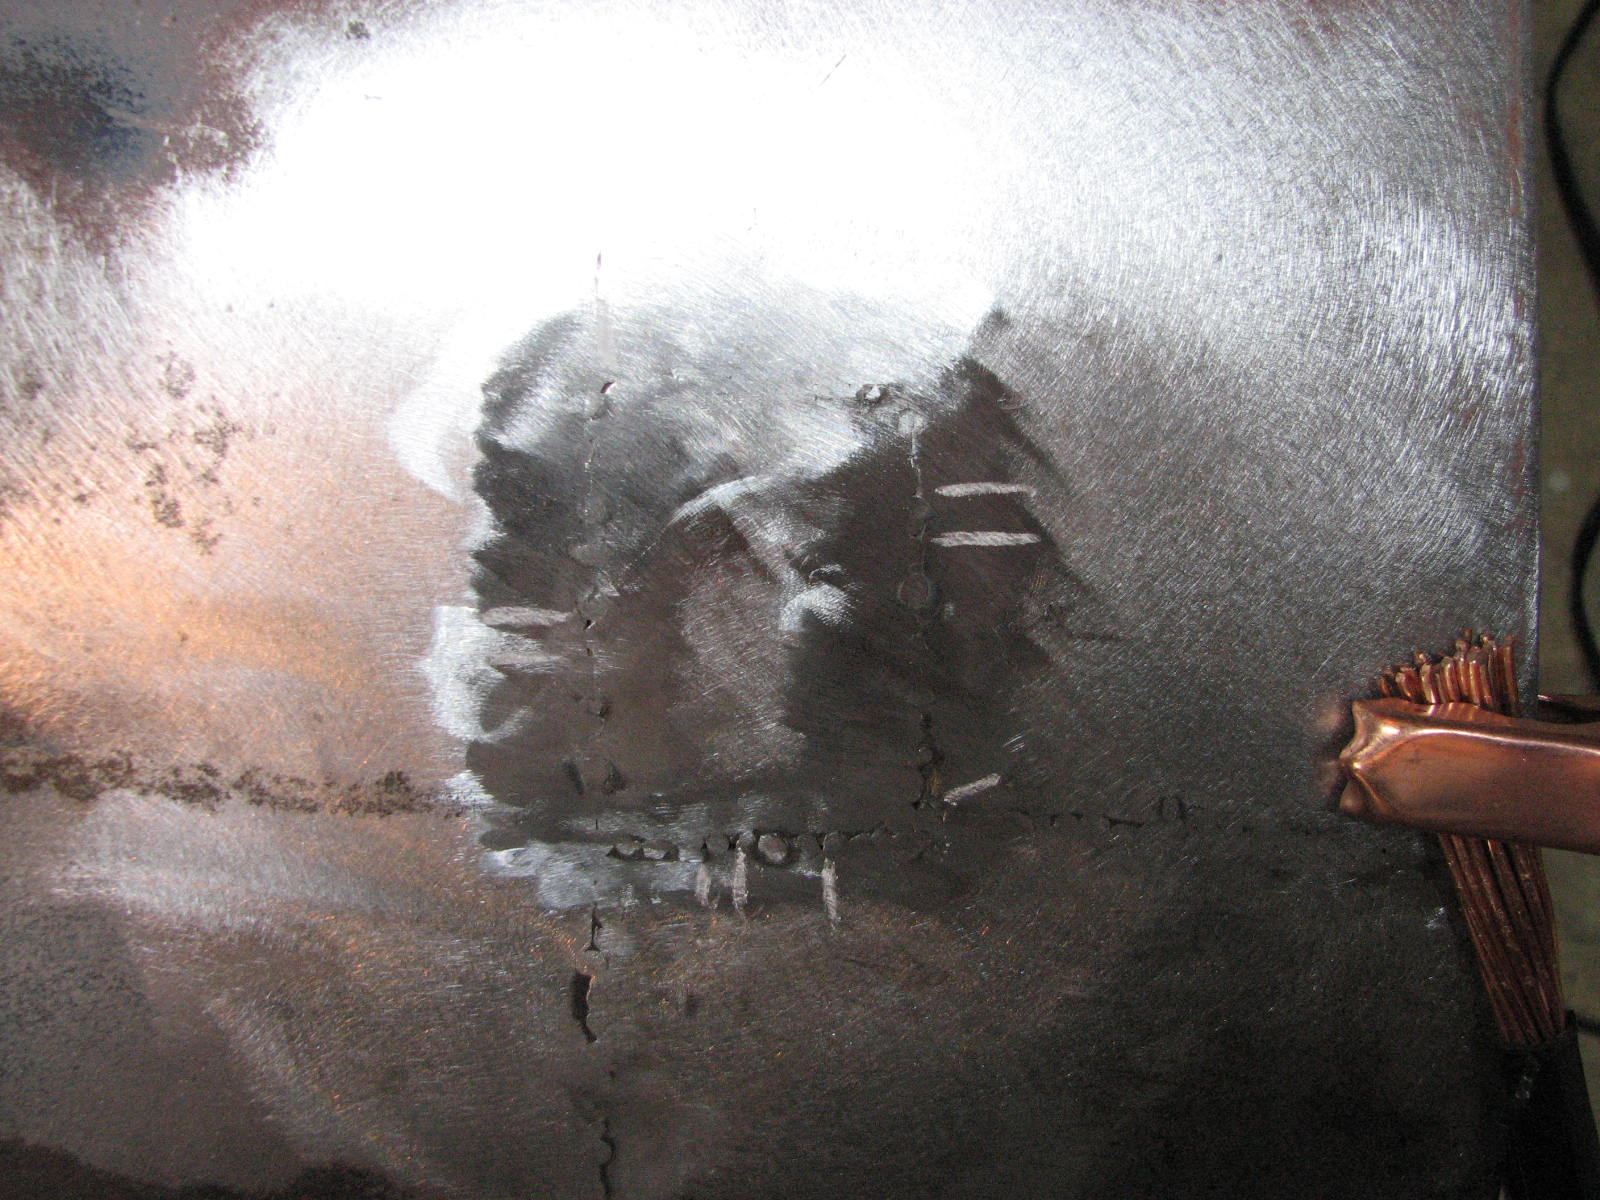
I made the new patch from cutting out the metal of the old deck lid that was rusted out on the edges. The metal is original thickness and composition which makes it perfect for the patch. Again, not my best work.

Unfortunately, when I started to look at the fender to do body and filler work, the sins of the patch were revealed.

The concave area of the patch would have taken more than an 1/8" of filler which is totally unacceptable in my book. The problem was I could not get this area to push out, especially with the inner structure blocking half the patch. My best efforts were not working. The only fix was to replace it and try to be sure that it didn't "suck in" when being welded in place, a problem with small patches.
So... I cut out patch #2 and proceeded to make patch #3. Again, I used the old trunk lid for the metal.I didn't want to form a new lip on the rear edge of the fender. I cut it to leave enough metal to work with.


Now it was on to making the new (and hopefully final) patch. I used cardboard to make a template to fit the opening. It looked good and I transferred it to the trunk lid. I cut it out leaving an extra 1/4" for material. Should work great, right? Well... In spite of all the double measuring and leaving what I thought was spare material, it had a bigger than normal gap at the rear seam. Yes I could have filled it in with weld material, but at the expense of more heat and shrinkage.


That looks really good Dennis!!! Brilliant idea to use donor metal from old trunk lid! I'm sure that was still good ole USA steel made in 1968! When you get discouraged, just compare where you are currently to your Homepage photo. You've come a long way.
ReplyDeleteHoping to get a floor in my new garage and get back to some SusieQ work this winter. Been too long!
Keep hammering!!!
rj
Thanks RJ. I'm actually getting some work done on Eleanor. I've taken a page out of Sven's playbook and started posting on Instagram under 1968_fastback_resurrection. I really need to update this one as I can put more detail in it. Looking forward to SusieQ updates!
ReplyDelete