So far, 2019 has been a busy year for many reasons. The big one is traveling for my position. To make a long story short, I was in Canada for the equivalent of 5 weeks so far, three of them in February. Preparing for teaching a new workshop on marriage also took some time formulating workbooks and PowerPoint presentations. After getting home the beginning of March, my wife and I visited my middle daughter and her family to help them get with the majority of my travel and teaching behind me for the winter, I took a couple of days off to regroup and try to get back to work on the fastback.
At the last episode, the hood and trunk lid were installed and gaps adjusted. I did put the front fenders and had everything almost adjusted, but realized that I should have put the door hinges along with the doors. Ugh.
A trip to the media blast cabinet cleaned the hinges up nicely. However, one of door hinges needed to be replaced. It was easy to do by using a socket, a drift, and a hammer to push the pin out. The new pin and brass bushings were installed using a vice to press the new pin in and all was good. I had ordered the new hinge bolts a while ago and laid out all the hardware.

Before installing the backing plates in the A pillar, I chased the threads with a 5/16" tap to clean up the threads.

Thanks to previous photos taken during disassembly and the factory stamps, it was easy to identify which backing plate to install in the right location. They drop into factory tabs which hold them in place for easy installation of the hinge bolts.

With clean threads, the bold were easy to install finger tight so that the door could be adjusted after attaching the door to the hinges.

But before I can hang the door, I need to, shall we say, gut it. So let the eviscerating begin.
It's been, I don't know..., at least 6 years since I took the driver's side door off and apart. So it shouldn't be too hard to do the other door, right.
Wrong.
In spite of having the body assembly manual, I decided to take photographs of the disassembly since it had been awhile since I took the other door apart. I didn't take anywhere near enough photos when I did that door. So I needed to have more documentation for reassembly.
Everything was going along swimmingly until I got to the removal of the window. I was befuddled with how to get it out but discovered there was a stop for the window that was hard to see. I got the window in a position where I could take the stop apart. The window came out but I"m not sure where or how the stop will go back in. I guess I'll deal with that on assembly.
This is a lesson learned. If you're going to take forever on doing a restoration, and you can't remember how things come apart and go back together, documentation is extremely important.
The following is how to door came apart in case you are doing the same thing and need a little "guidance" on disassembly and hopefully on reassembly.
First is the removal of the arm rest with 3 bolts with a 3/8" socket. The inside door release handle was a quick removal with 1 Phillips head screw.

After that, using an upholstery tool, I pried the door panel from the door.

Then I removed the door crank from the spindle. Note there is a thin plastic decorative cover over the mounting screw.


The next step was to remove the covering for the access to the inside of the door.

The paper is held in place with a sticky adhesive that will need to be removed.

The black part is a seal for the window. It's held in place with 4 screws.

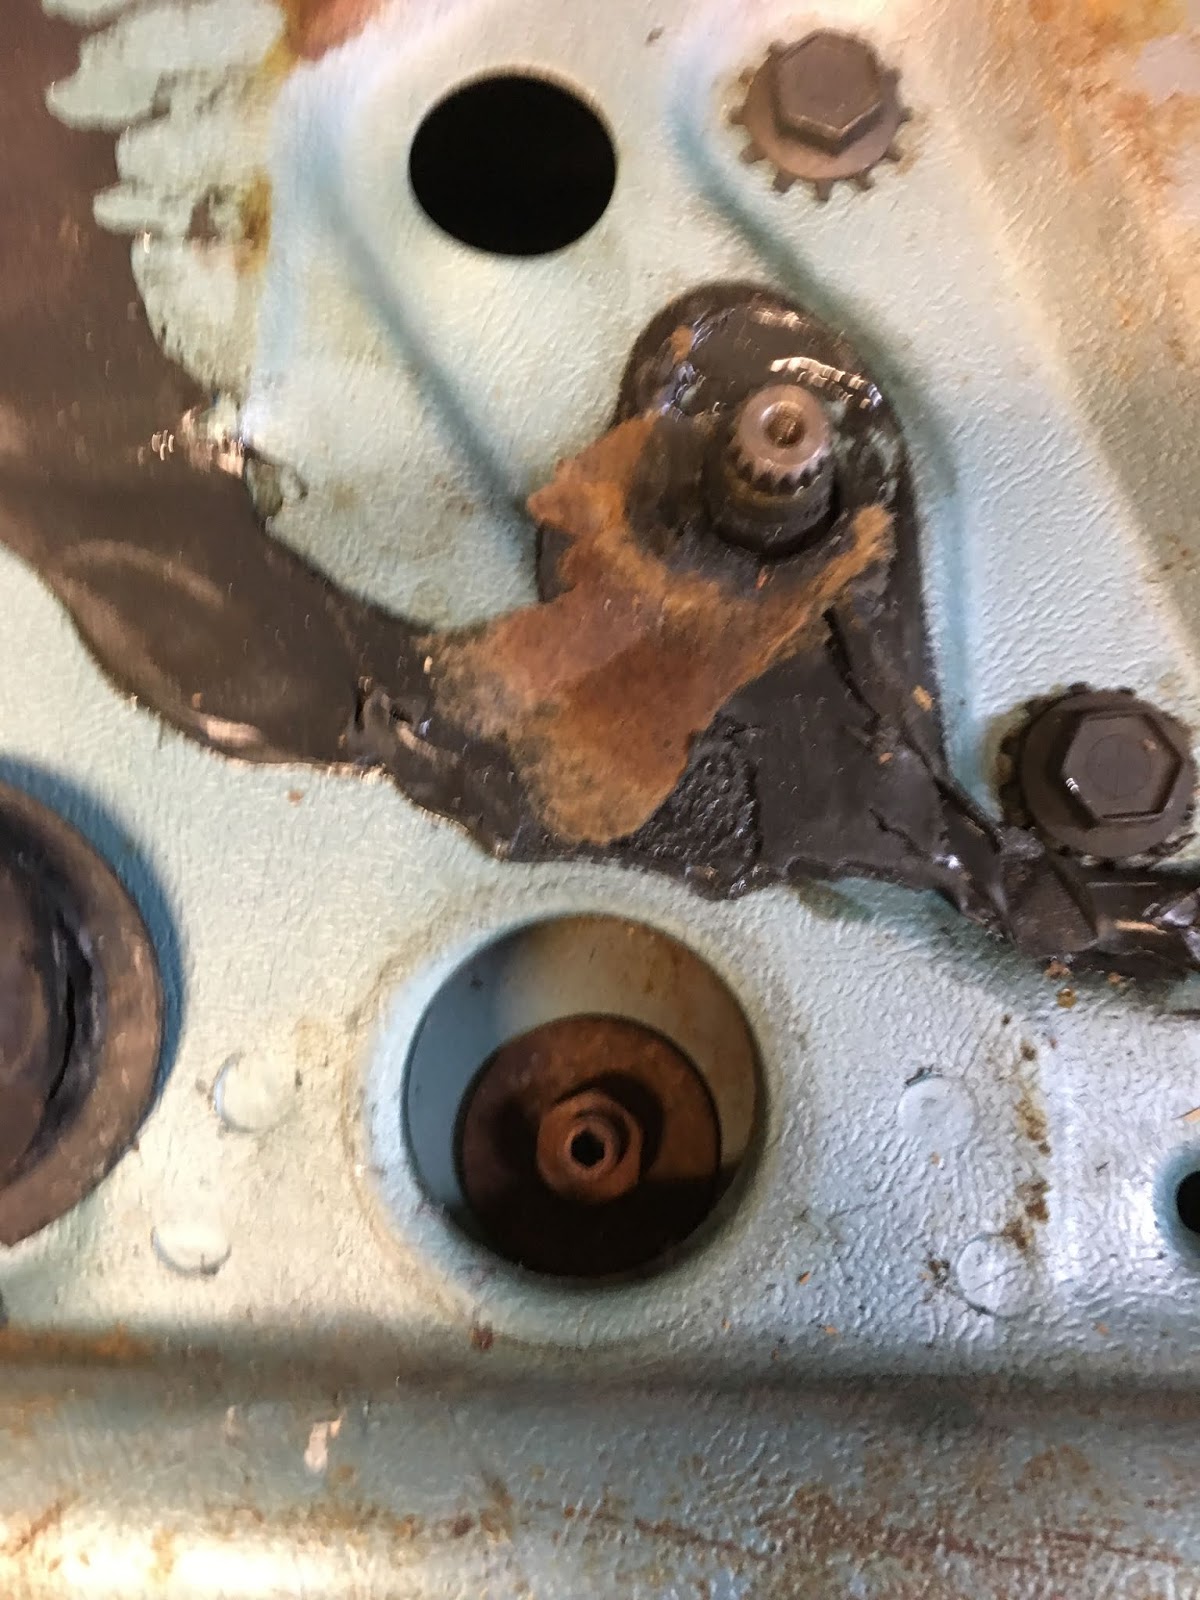
The vent window has 2 bolts and one flanged nut that holds the top in place. Note that the flanged nut is attached to an adjustment screw that has a hex head. This is what is used to adjust the front track that is part of the vent window.

A rubber plug covers the access to the bottom adjustment flanged nut and screw.

The next picture is the window bottom track with the forward piece that goes in the vent window channel track.

Below is the piece with the bolt and bracket which attached the front window channel to the vent channel piece.

There are 3 small Phillip head screws that hold the bottom window channel to the mechanism that raises and lowers the window. Unfortunately, 1 of the screws had to be drilled out which was a delicate procedure. There was also a track stop (not shown) that needed to be removed before the window could be removed from the door.

With the window out, I removed the door latch and outside handle with all the associated parts.

Both the rods for the key lock and the door handle were held in place with these clips. Pry them off the rod and it rotates away to allow the rod to be removed.

The picture below is the layout of the door latch, key lock, and outside handle.

 |
| This is the latch assembly that holds the door shut. |
 |
| This is the key and outside handle detail assembly |
 |
| This is the window, vent wing, and associated tracks laid out for future reference. |
With the door now stripped of all its internal components, I began the process of stripping the interior side of the door. This is somewhat tricky since the skin is actually embossed with a grain pattern that is quite fine. Care must be taken so that the grain is not damaged. All the paint has to be removed from all the nooks and crannies so that when painted, it doesn't fill them up. In 1969, Ford started to use full door panels which would have eliminated the need for any of this interior prep work.
The first step was to scrape as much of the paper adhesive off the door. Then I resorted to my Goof Off and a 3M coarse stripping pad to strip the remaining residue and the paint off the interior side of the door. It took a few applications to get everything cleaned off. Then I used mineral spirits to clean off the Goof Off residue.


With the interior side of the door stripped, I flipped it over and began the process of stripping the exterior of the door.

It took 4 applications of the stripper to get down to the factory primer. That is tough stuff that even after letting the stripper sit on it for 20 minutes, it still was reluctant to come off. So the final stripping was done with a DA sander running 80 grit disc.

So now that the outside of the door was stripped of paint, I turned my attention to the inside of the door. I used a 3M stripping pad again to knock off the surface rust to the best of my ability. I used a shop vac to remove all the sanding debris and other 51 years of crud that accumulated in the door.

After that, I took a paint brush, cut off all but 2" of the handle, and proceeded to paint the inside with Zero Rust. I elected to leave the factory sound deadener in place since it was still a little pliable and would have been difficult to remove.


I let the paint dry overnight. Then I applied Picklex 20 to the bare metal surfaces to protect them from any flash rust. With the door now completely prepped, it was time to hang the door.
This was a tedious process. Remember, I had to remove the fender to put the door hinges on. The challenge here was to try and get the door gaps set which involved the B pillar and the door to front fender gap. Doing this by myself was not the easiest thing to do, but with a little fortitude, a step stool with wood to hold the door in position, my 3 ton floor jack, I was able to get the door attached to the hinges. Then adjusting the gaps was a trial-and-error process which involved mounting the front fender, checking the gaps, removing the fender so I could get access to the hinges and make an adjustment. I used wood shims on the bottom to help hold the door in position. It took 3 iterations of fender removal and hinge adjustment to get the door gaps equal front to back and top to bottom.


The gaps are now consistent front to back and along the fender and hood. The door will need a slight 3/16" upward adjustment to get the body lines to match perfectly but I'm going to get another body to help with that since it's such a small adjustment and I just can't do it right by myself. I'll make that adjustment when I'm ready to hang the driver's side door which is next on the list of things to do. Since the window and vent assembly has already been removed, I only need to remove the latch, key lock, and outside handle. Then go through the same stripping process on the interior side. The outside has already been stripped but will need a good DA sanding to remove the flash rust that's on it. Once that door is hung, and the gaps are set for the doors, fenders, and hood, the actual body work of final dent removal and filler application can begin.
This step has been a long time coming but is finally here. Hopefully, I can keep going on it with the hope of having the body in high build primer before my summer departure to northern Canada.
Until the next time...
Looking good Dennis! Appreciate the detailed photos of the door assembly. That will come in handy this summer when I dive into mine. Check out Ring Bros for their oh-so-nice door strikers!!!
ReplyDeletehttps://ringbrothers.com/1967-1970-mustang-door-strikers.html
rj