Well, it has been an interesting summer. 11 weeks in northern Canada, most of it between the 53rd and 59th parallel. I've flown almost 12,000 miles, landed at 24 different airports (some of them multiple times) and had 2 flat tires in 7 weeks on the airplane at the same airport. I'm not a fan of crushed granite for a surface. It's not very fine (as in small) and it's sharp. I used my mad skills to change the tire successfully. The tough part was getting a new tire and tube shipped out of Winnipeg to Island Lake, Manitoba in a reasonable amount of time. Oh well... That's life in the north.
But now I'm back home for a while and have been looking over the fastback formulating a plan on how to proceed. I have been bugged about the remaining undercoating on the car and wondered why I didn't take care of it all when I media blasted the floor the last time. I believe it was because it was 90 plus degrees that day. I thought I would just go ahead and used my heat gun to remove the rest.
After 10 minutes of using the heat gun, I quickly determined it would take me about 8 hours to get rid of the mess. So it was back out into the driveway for more media blasting. Oh...the temperature the day I did it? 90 degrees. At least I'm consistent, right?
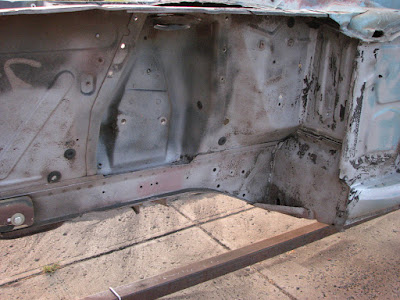
This is not glamorous work. It's dirty, dusty, sticky and just plain messy. I could blast for about 1-1/2 minutes and then had to let the 60 gallon compressor catch up. Overall, I could blast about 6 minutes between stopping and putting in more media. Then there was sweeping up the extra-fine black diamond media and putting it in a bucket. I only has one bag of the stuff left and had to recycle it. That meant using a sifting screen before using it. So it became a rather labor-intensive project. In spite of the hassle, it beat the tar (our undercoating) out of using a heat gun and was much, much faster.
Here's the driver's side wheel well before...

...and here it is after....

Here is the passenger side before...

...and after....

I spun the car around in the driveway and took care of the leftovers on the outside of the front aprons. This is the driver's side...
...and this is the passenger side

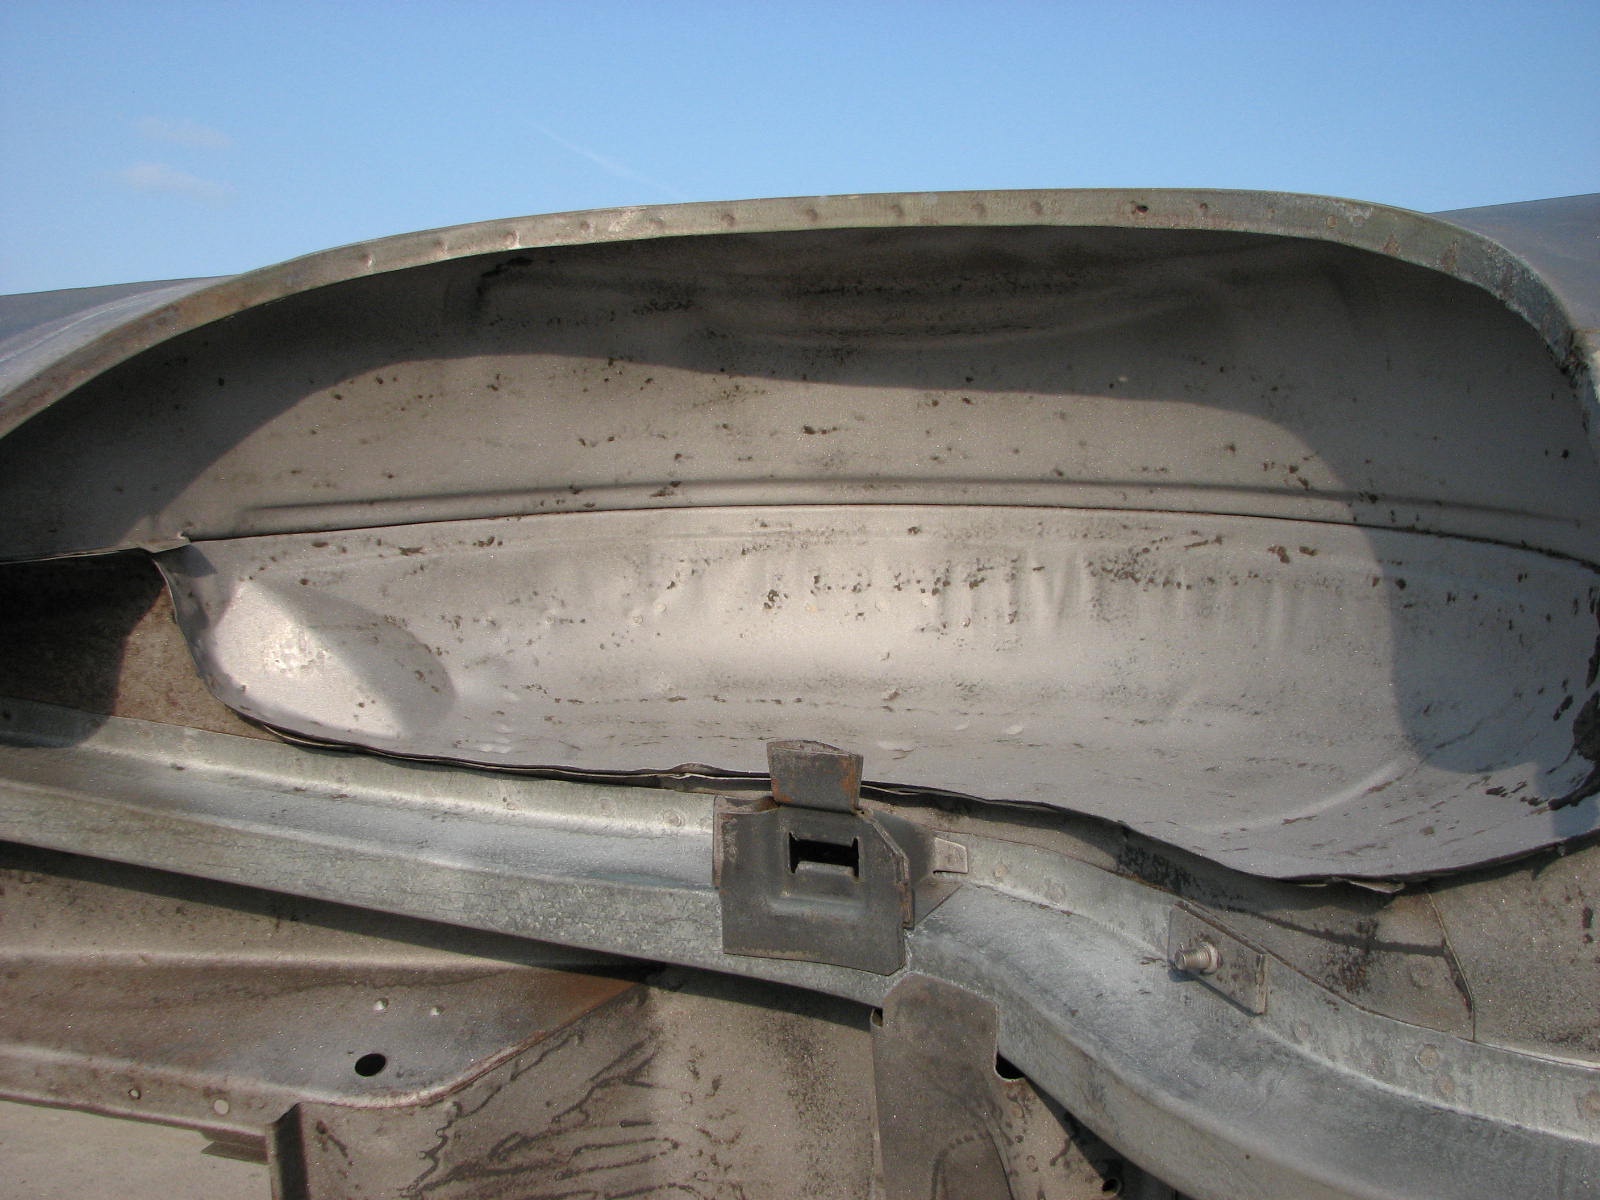
This is the passenger side behind the apron....

...and the driver's side...

The undercoating and sealer that were applied heavily didn't come off all the way. I figure I'll resort to the heat gun and braided wire brush to get rid of the rest. That will take a chunk of time as well.
The one thing I noticed getting the body outside in the bright sunlight and spinning it around on the rotisserie is that I have a fair amount of weld dressing to do, especially for my favorite repair... the ever elusive pin holes!
So I'm going out on a limb here and actually committing to a goal. By the end of the month, I'm shooting for....
1. Having all the undercoating/sealer to be gone both inside and out.
2. Have all the weld dressing done.
3. Start the application of Metal-to-Metal filler on the floor, firewall, and other weld joints that need to be smoothed over.
My wife and I are babysitting 3 of our grandchildren this weekend. Two weeks from now, all my girls and their children will be here for a long weekend. I have to go back to Canada for two weeks the first part of October and then to Michigan for work the last weekend of October. I was hoping to get this beast into DP74 before the real cold weather sets in. But that may be a push.
So I am, as usual, at the mercy of my calendar for family and work. But there could be worse things to delay me. I'll count my blessings and move on as I can.
Until the next time....
But now I'm back home for a while and have been looking over the fastback formulating a plan on how to proceed. I have been bugged about the remaining undercoating on the car and wondered why I didn't take care of it all when I media blasted the floor the last time. I believe it was because it was 90 plus degrees that day. I thought I would just go ahead and used my heat gun to remove the rest.
After 10 minutes of using the heat gun, I quickly determined it would take me about 8 hours to get rid of the mess. So it was back out into the driveway for more media blasting. Oh...the temperature the day I did it? 90 degrees. At least I'm consistent, right?
Here's the driver's side wheel well before...

...and here it is after....

Here is the passenger side before...

...and after....
I spun the car around in the driveway and took care of the leftovers on the outside of the front aprons. This is the driver's side...

...and this is the passenger side

This is the passenger side behind the apron....

...and the driver's side...

The undercoating and sealer that were applied heavily didn't come off all the way. I figure I'll resort to the heat gun and braided wire brush to get rid of the rest. That will take a chunk of time as well.
The one thing I noticed getting the body outside in the bright sunlight and spinning it around on the rotisserie is that I have a fair amount of weld dressing to do, especially for my favorite repair... the ever elusive pin holes!
So I'm going out on a limb here and actually committing to a goal. By the end of the month, I'm shooting for....
1. Having all the undercoating/sealer to be gone both inside and out.
2. Have all the weld dressing done.
3. Start the application of Metal-to-Metal filler on the floor, firewall, and other weld joints that need to be smoothed over.
My wife and I are babysitting 3 of our grandchildren this weekend. Two weeks from now, all my girls and their children will be here for a long weekend. I have to go back to Canada for two weeks the first part of October and then to Michigan for work the last weekend of October. I was hoping to get this beast into DP74 before the real cold weather sets in. But that may be a push.
So I am, as usual, at the mercy of my calendar for family and work. But there could be worse things to delay me. I'll count my blessings and move on as I can.
Until the next time....
Welcome back Dennis! I have a trick to getting old undercoating off quick and relatively easy. If you have a cheap air hammer and a good regulator, the trick I describe in this blog entry will save untold hours! You can literally strip a complete rear wheel tub of undercoating in about 20 minutes (or less!).
ReplyDeletehttp://1970boss302.blogspot.com/2010/12/some-simple-but-effective-restoration.html
All the best!
Sven
Hey Sven, want to know something really funny? You shared this with me waaayyyyy back in June of 2012 when I first blasted the underside of the fastback. I guess after that long, I forgot about it, until you mentioned it again here. It's also a sad reminder of how long this beast has been in process. I definitely need to step up my game, especially with being out of country 16-18 weeks a year. Thanks for the reminder. I'll definitely use it on the remainder of the sealer and undercoating.
ReplyDelete